Recently I was looking for a cheap 16×2 LCD, and I found several interesting models on eBay that come with great price. I purchased one with blue backlight. The total is only $3.49 including shipping. The product was shipped from Hong Kong, so it took about 2 weeks to arrive. Here are two images of the front and the back:
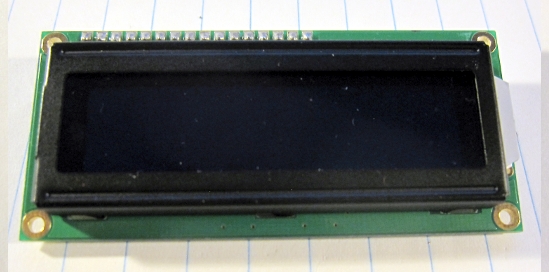
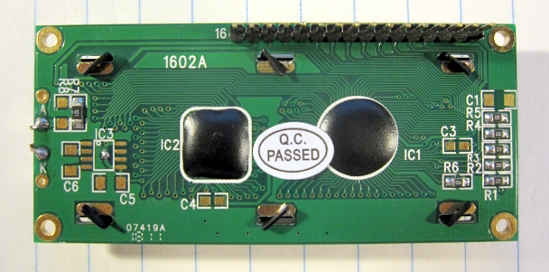
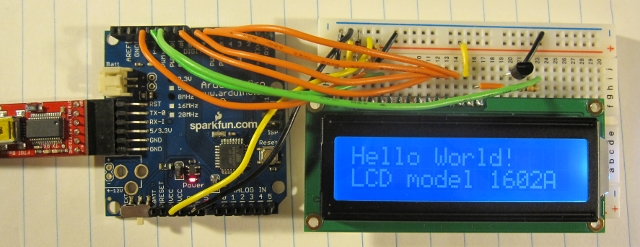
The model number is 1602a and the spec is easy to find online by searching the model number. It’s HD44780 compatible, so it can work directly with the Arduino LiquidCrystal library. The blue LED backlight looks quite pleasant. Here is an example:
One downside is that the back LED is a bit noticeable (see the glow on the right edge of the display); also, the text will be almost completely invisible if the LED is turned off, so the LED has to remain on, consuming more power.
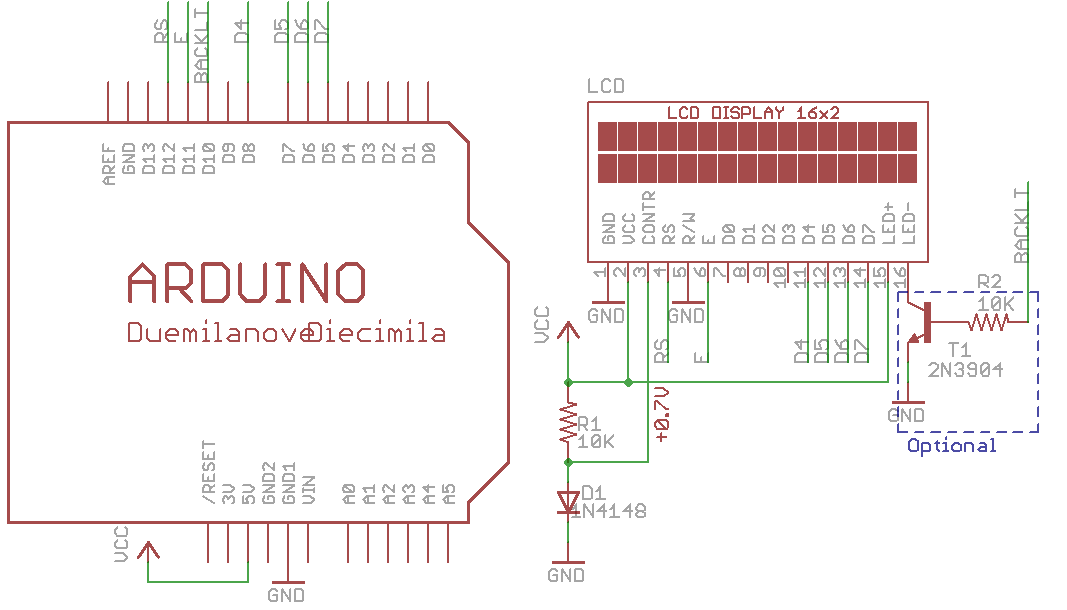
Making it work with Arduino is straightforward by following the LiquidCrystal example. I made small changes to the pin assignment. Here is what I did: LCD RS, Enable, D4, D5, D5, D6 pins are connected to Arduino pin 12, 11, 8, 7, 6, 5 respectively. Normally the display contrast (V0) pin of the LCD is connected to a potentiometer in order to adjust the contrast voltage. After some experiment, I found that the desirable voltage is about 0.65V, which can be supplied by the forward bias voltage of a standard diode, such as 1N4148.
In order to control the back LED brightness, I made use of a transistor (2N3904) and Arduino’s PWM (pulse width modulation) to adjust the effective voltage supplied to the LED. The transistor serves as a current sink, and its base is connected to Arduino pin 10 to apply PWM control. This is very standard design, refer to the schematic below. With this, I can easily control the brightness of the backlight. Just to demonstrate it, I wrote a simple program based on the Scroll example provided in Arduino. The program scrolls text left and right, meanwhile I use a timer interrupt to brighten and dim the backlight. See the video below.
Some ghosting artifacts are noticeable as the words move left and right. The video probably exemplified them, the actual LCD looks better than the video.
Update: It’s ok to connect Arduino pin 10 directly with LED- or LED+ to supply the PWM signal without using a transistor. Arduino’s I/O pins can source or sink more than 20mA of current, which is sufficient to drive the backlight LED. Other microcontrollers might not be able to do so directly from their I/O pins.
In summary, this is an decent and inexpensive LCD, which works nicely with Arduino. Right now it occupies 7 Arduino pins (1 of them has to support PWM), but this number can be reduced to 3 by using a shift register. The schematic and source code for the example program are attached below. Comments and suggestions are welcome!
Download Arduino source code lcd1602a.pde.