Updates
- Click here to see NeoDen 4 Pick and Place Machine with Vision System.
- Click here to see Part 2 of the TM-240A video.
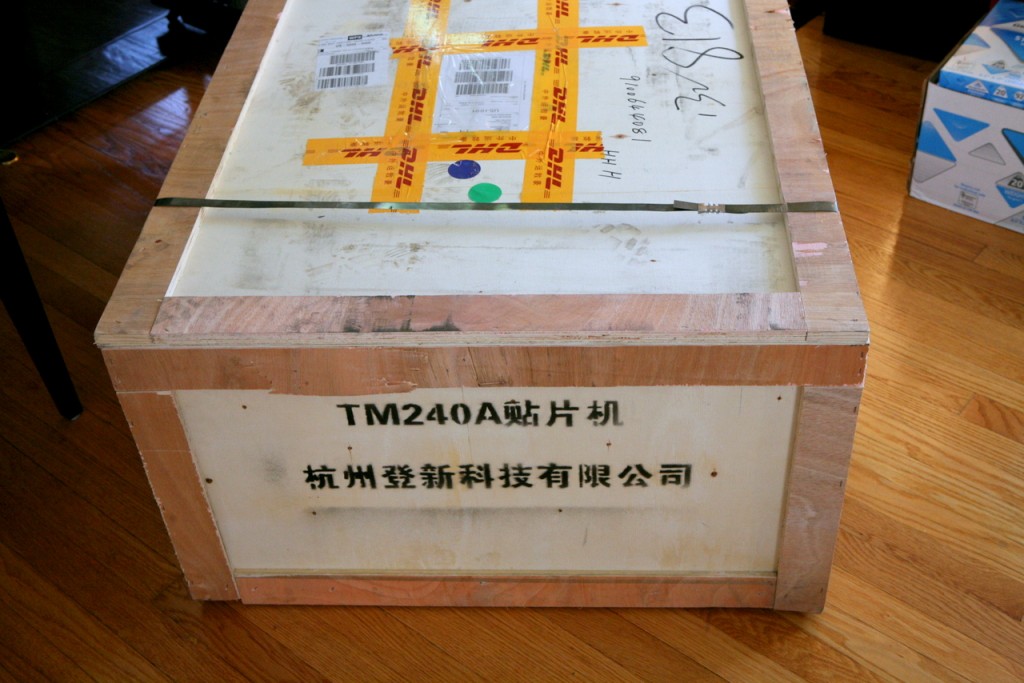
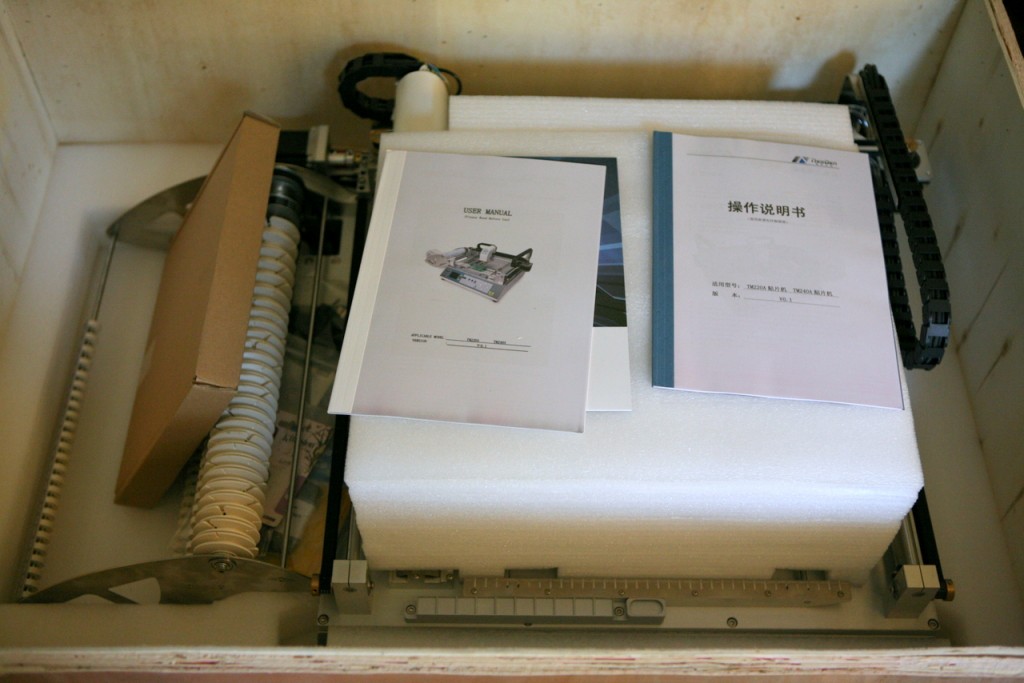
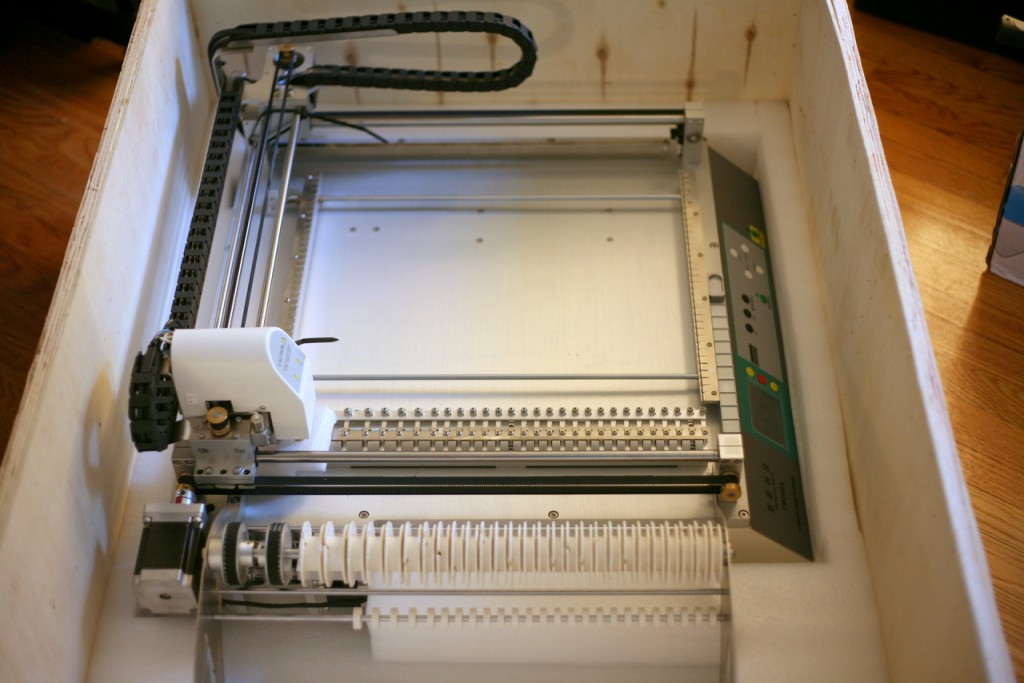
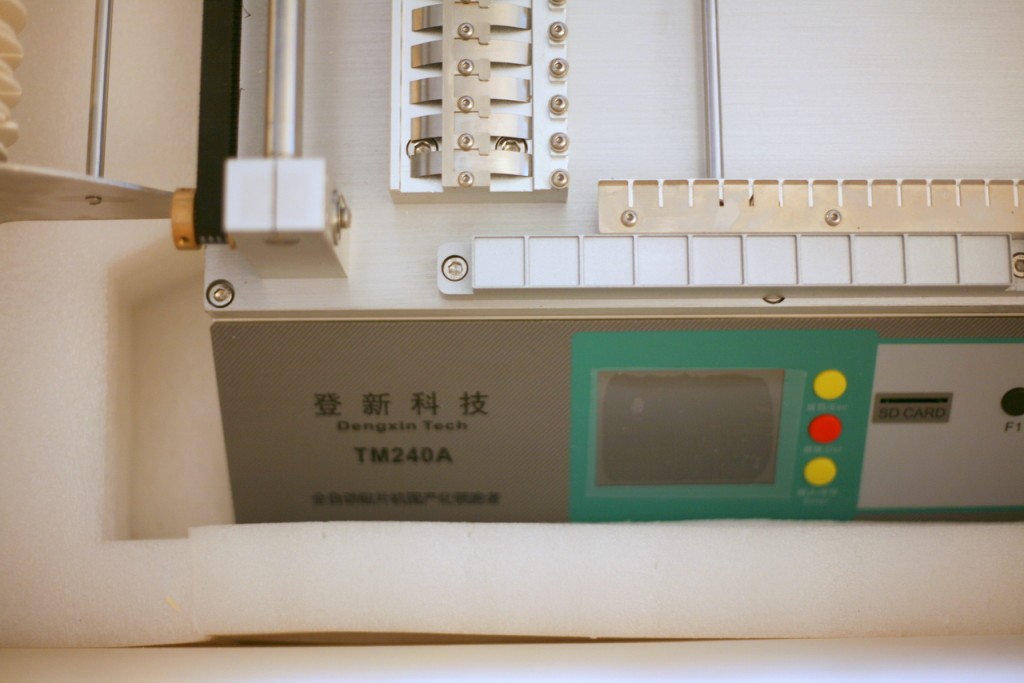
Yes, there have been lots of new updates recently. Among them is a new toy I received in the mail today: a NeoDen TM-240A automatic desktop pick and place machine! I’ve kept my eyes on this baby for a quite a while, and finally decided to make a purchase last week. The shipping was very fast: DHL from China, a total of 4 days from shipping to delivery. The package is quite heavy: 65kg with the box, and 45kg just the machine itself. The DHL courier and I moved it together to my workshop. Some unboxing pictures:
So what’s a pick and place machine? Simply speaking, it’s a machine that can quickly and accurately place SMT components onto a PCB. As our orders keep increasing, we need better tools to significantly improve the manufacturing productivity. It’s true that the major manufacturing needs can be outsourced to companies like SeeedStudio, but you will always have to prepare for unexpected delays. Also, small production runs are not worth outsourcing to China. So it’s crucial to have in-house manufacturing capability to meet small production needs.
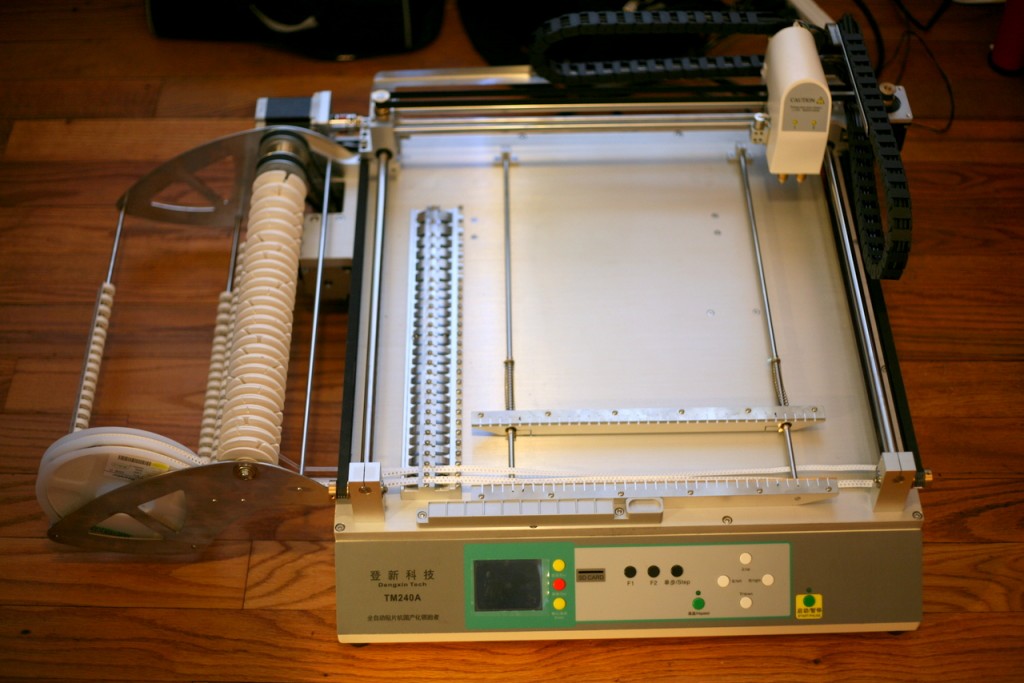
The basic tools for small-scale PCB assembly include a stencil printing machine, a pick and place machine, and a reflow oven. The pick and place machine is probably the most expensive among the three. The NeoDen TM-240A is a relatively low-cost model. It’s desktop-size, so it’s light-weight and doesn’t take a huge amount of space. It has built-in suction pump, 28 feeders, two placement heads, speed of 7000 components per hour, and a maximum PCB area of 400mm x 360mm. It costs about $5000, which is significantly cheaper than machines at similar specs. I’ve seen machines that cost at least 10K, and even at that price you have to buy feeders separately. There is a sister model to TM-240A, which is TM-220A. It’s cheaper (~$3600), but with less feeders and smaller PCB area. The downside of TM-240A is that it does not have a vision-based system, so it’s not as accurate as the more expensive machines. But considering its price and capability, I decided it’s a good investment.
I bought the machine directly from the Chinese website Taobao, which is the equivalent eBay in China. Shipping is 3000RMB (~$490). Considering it took only 4 days from China to the US, it’s not a bad price. All together I paid about $5500, including the machine and shipping cost.
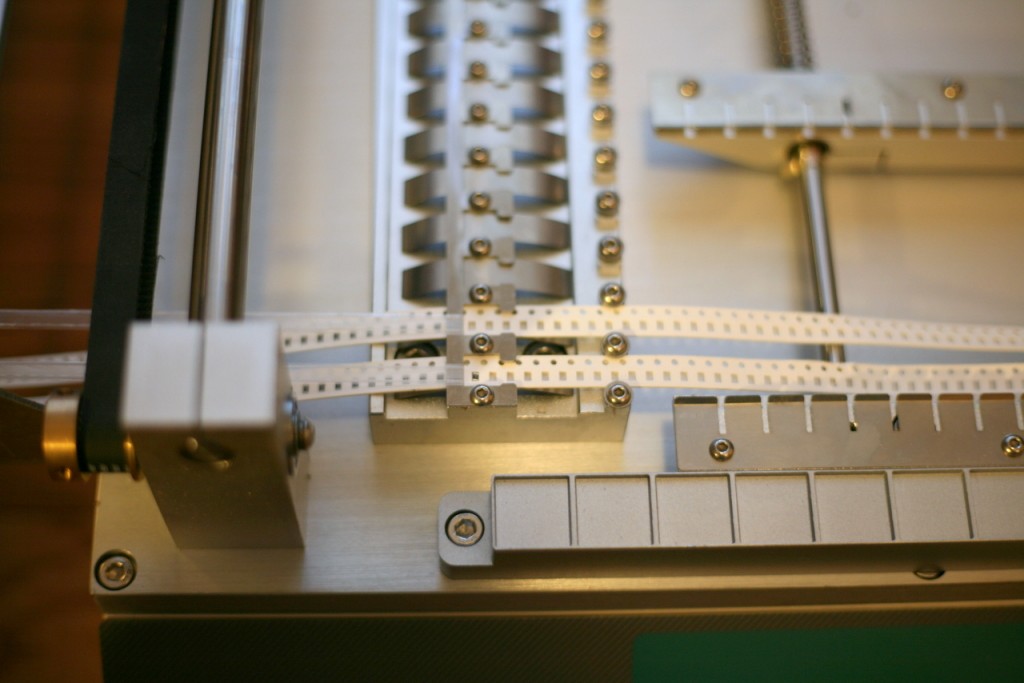
As soon as I got the machine, I couldn’t wait to open it and give it a try. The user manuals are pretty minimal, but there is an SD card that contains several tutorial videos which are very helpful. For example, the user manual does not explain how to install the component tapes, and it took some careful watching and rewinding of the tutorial video to figure it out. The package came with a sample PCB and a bunch of double-sided tape. Using these I could quickly set up a test run without applying solder paste at all. The video below shows a demonstration. It’s very exciting to see the machine in action! It’s also quite fast. I am looking forward to using this machine in real production. I am glad that this machine has sufficient number of feeders to handle OpenSprinkler in one pass (i.e. no need to change tapes in the middle). There will be quite a bit of learning involved, but I am hopeful 🙂
Update: Click here to see Part 2 of the video.
