This is an official announcement of several recent OpenSprinkler updates: the fully assembled OpenSprinkler 2.1s, a new firmware revision 2.0.4, and a GUI-based firmware update tool.
First, the hardware:
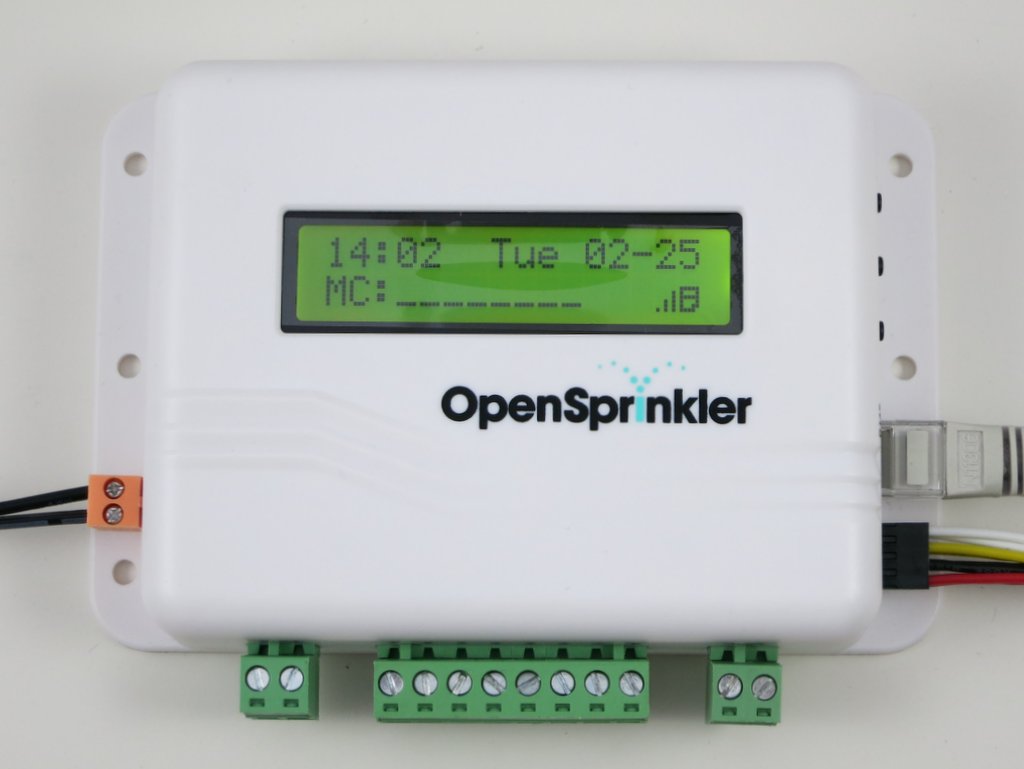
So what’s new in OpenSprinkler 2.1s? Here are the main updates:
- ATmega644 mcu running at 12MHz with USBasp bootloader.
- Added per-station transient voltage suppressor (TVS).
- Added TVS and 2A fuse on the 24V AC line.
- 24V AC terminal block is changed to orange-colored with 3.96mm spacing.
- Added on-board 120V/2A mini-relay.
These pretty much follow the same updates we made in the DIY kit 2.1u. With these updates, it brings the fully assembled 2.1s to the same page, in terms of hardware features, with all other OpenSprinkler variants (e.g. OSPi, OSBo). OpenSprinkler v2.1s is now available for purchase at the Rayshobby Shop.
Next, the firmware 2.0.4:
This is a minor revision, but with important changes in preparation for Samer Albahra’s awesome new OpenSprinkler Mobile App. This new app is snappier and even more polished than the current version. It will have native apps on all mobile platforms. and it will also have cool new features such as language localization (yay!) and automatic discovery of OpenSprinkler devices. I am very grateful for Samer’s help and continued contributions to this project, and I’d also like to thank Balazs for contributing to the weather and the language localization features.
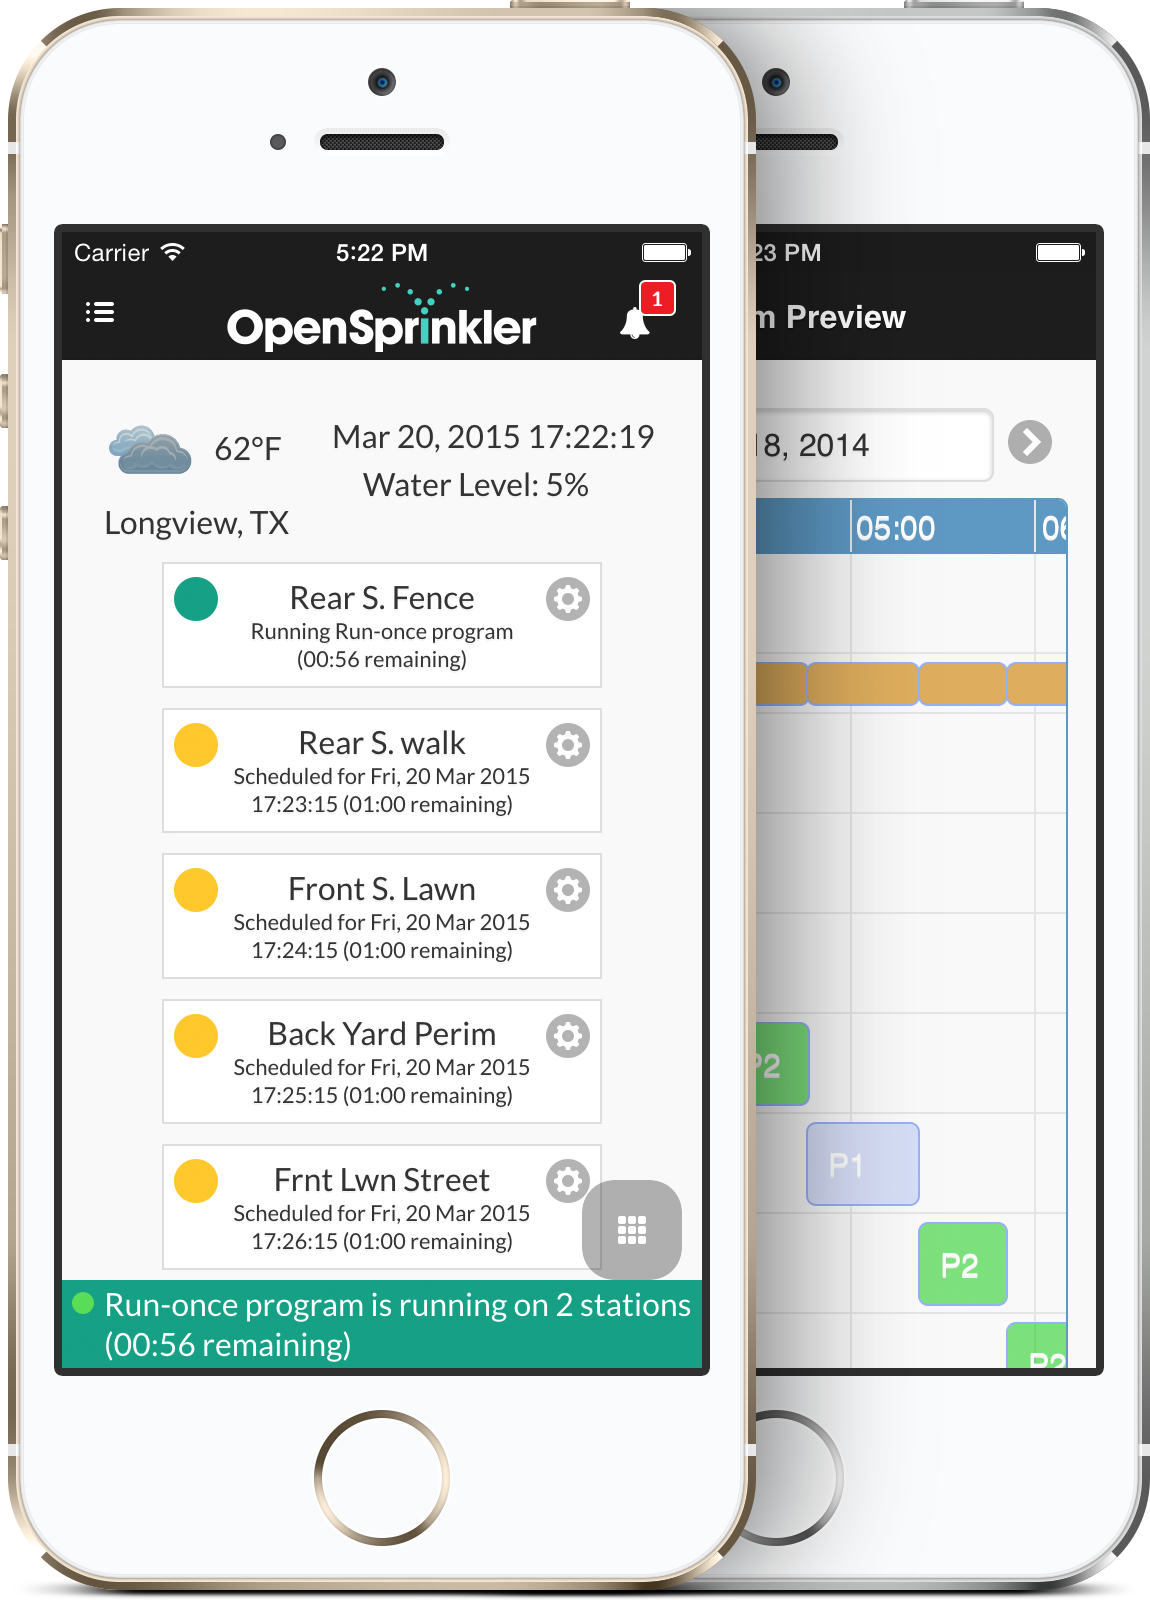


So technically what have changed in this firmware? Since I have never blogged about firmware 2.0.2 and 2.0.3, I ‘ve included the accumulated changes below:
- Added support for JSON and fixed several bugs.
- Added support to change Javascript URL.
- Stores controller operation enable bit, manual mode bit, rain delay time in EEPROM.
- More options are made editable through the web interface.
- Added support to change time manually (enabled when NTP sync is turned off).
- Added LCD auto-dimming feature (after 30 seconds of inactivity, the LCD brightness will lower down to the LCD Dimming value set in options).
About the first bullet, let me explain with more details. Support for JSON output has been added since firmware 2.0.2. This is very useful for integrating OpenSprinkler with mobile apps, external control programs, and jQuery and AJAX in the future. The specific JSON outputs are:
- http://x.x.x.x/jo: returns options.
- http://x.x.x.x/jc: returns controller variables.
- http://x.x.x.x/jp: returns program data.
- http://x.x.x.x/jn: returns station names and data.
- http://x.x.x.x/js: returns station status bits.
where x.x.x.x is the OpenSprinkler’s IP address. Right now the JSON code co-exists with code that spits out HTML pages, so there is a considerable amount of redundancy. This will soon change and the code will be significantly simplified in the near future.
About the second bullet, the firmware now supports Javascript files stored anywhere, including on a microSD card inserted in the controller itself. These Javascript files are required to render the controller webpages. They are usually too big to store in the microcontroller internally, but can be stored on an external path. The default path is http://rayshobby.net/scripts/java/svc2.0.4. To change it, use http://x.x.x.x/su, where x.x.x.x is your OpenSprinkler’s IP address. To host the Javascript locally on the microSD card, copy the necessary Javascript files to a microSD card (2GB or less, formatted to FAT), and insert to OpenSprinkler. Then change the Javascript path to . (i.e. a dot), indicating the files are served locally. With these changes, the controller can be truly independent, without the need to reference the Internet. So you can access the controller even if your local network is not connected to the Internet.
Firmware 2.0.4 is compatible with OpenSprinkler 2nd generation (including 2.0s and 2.1s/u). The source code is available for download at the OpenSprinkler Github repository. Please note that 2.0 and 2.1 use different microcontroller frequencies (8MHz and 12MHz respectively), therefore the compiled firmware files are different for them. If you’d like to upgrade to this firmware, please read on.
Finally, the GUI-based Firmware Update Tool:
Update: the information below is outdated. Please check the new OpenSprinkler Firmware Updater 2.0.
As OpenSprinkler has gone through many different hardware and firmware revisions, updating firmware has become more and more confusing. That’s why I’ve decided to make a GUI-based firmware update tool. This doesn’t completely get rid of the technical challenges, but it certainly makes the process less confusing 🙂
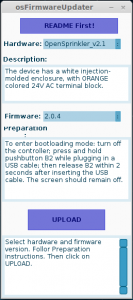
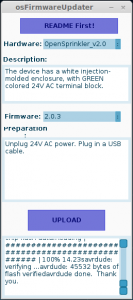
The updater is written in Processing, so it’s naturally cross-platform. The usage is pretty simple: you select your OpenSprinkler hardware version, and the updater provides a list of available firmwares. You select which firmware you want (defaults to the latest version), and click on Upload. That’s it. The GUI provides some basic descriptions of the hardware (in case you forget which hardware you have), and instructions to enter bootloading mode.
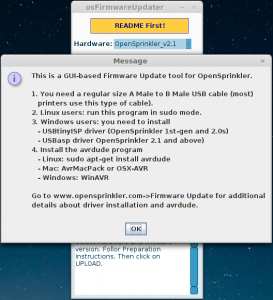
The firmware information is all stored in a file named os_firmware_info.txt. The avrdude program is packaged together with the tool so you do not need to install it separately (except in Linux, where you can easily install avrdude by sudo apt-get install avrdude).
There is one remaining piece, though — if you are a Windows user, you need to install USBtinyISP driver (for OpenSprinkler 1st-gen and OpenSprinkler 2.0) or USBasp driver (for OpenSprinkler 2.1u/s). Please refer to the Firmware Update instructions for additional details. This is probably the biggest technical hurdle and we are trying to find a more user-friendly solution. Basically, if you are using Windows XP, Vista, or 7 users, it’s not too bad; but if you are using Windows 8, it gets really messy — you need to disable driver enforcement before you can install the drivers. If you are lost, try to google ‘Windows 8 USBtinyISP’, or ‘Windows 8 USBasp’ and you should be able to find successful solutions.
If for the life of yours you simply cannot get the driver installed, you are resort to the Rayshobby pre-configured VirtualBox image — is creates a Virtual Linux in your host Windows OS, and passes the USB programmer directly to the Virtual OS, thus bypassing the Windows driver issue.
The Firmware Updater Tool can be downloaded following the links below:
Please run the ‘osFirmwareUpdater’ program in the folder that corresponds to your operating system.
Note: if you see messages such as avrdude: warning: cannot set sck period. Please check for usbasp firmware update., and avrdude: error: usbasp_transmit: usbasp_control_msg: sending control message failed, these are normal and can be safely ignored. These warnings / errors have to do with the behavior of the bootloader upon reset. They do NOT mean the firmware upload has failed.
Mac Users: if you encounter an error Application is damaged and can’t be opened, you need to temporarily change a Security and Privacy setting in System Preferences. See the details in this work-around.
This is a first step towards making the update process more user friendly. Comments and suggestions are welcome!
