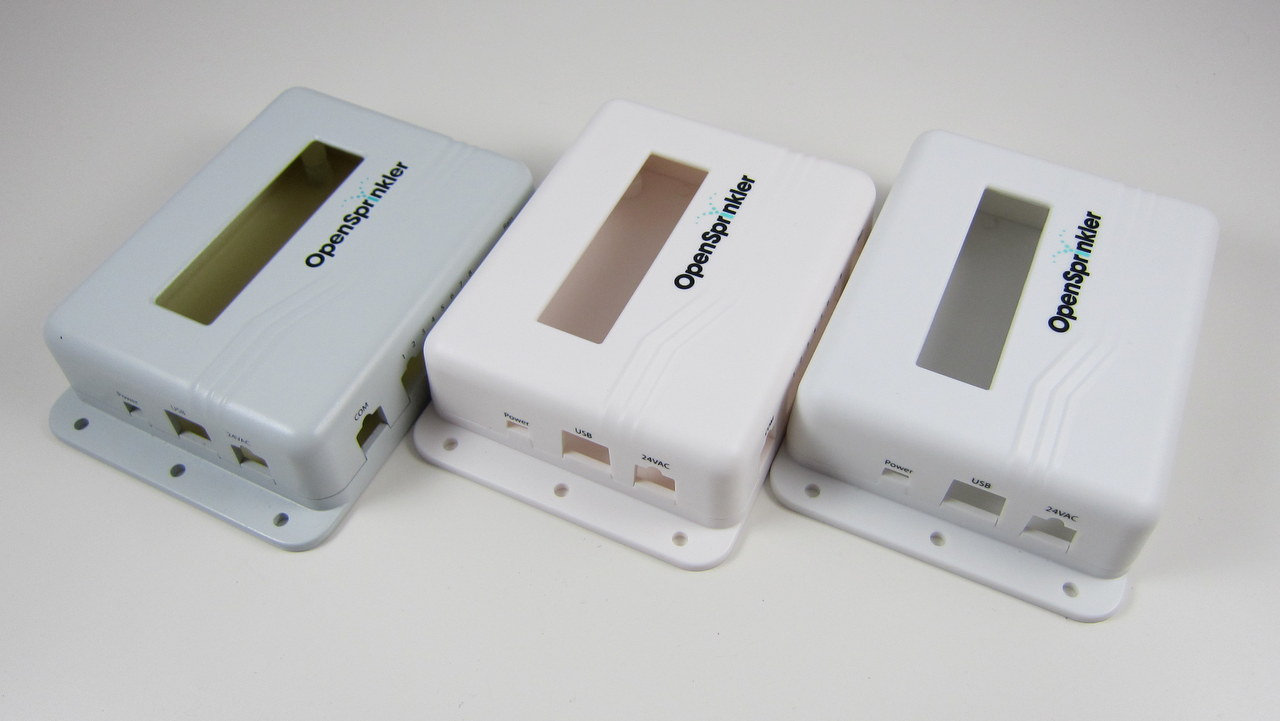
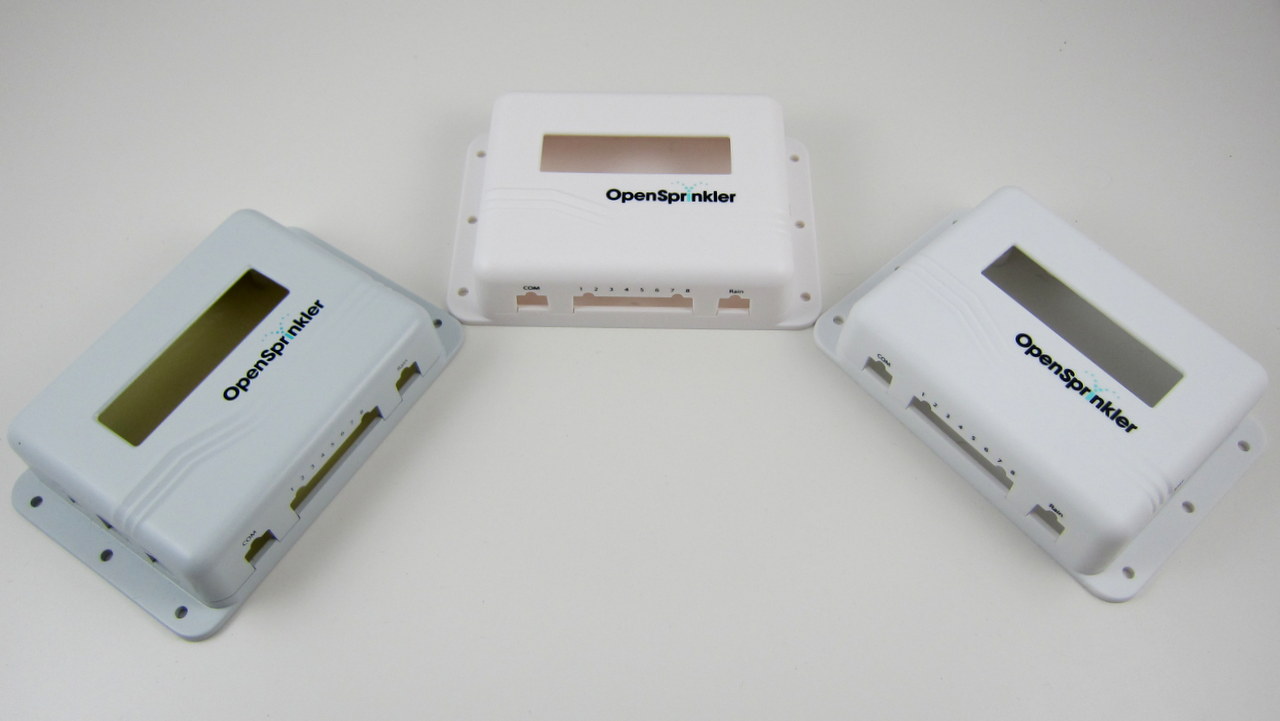
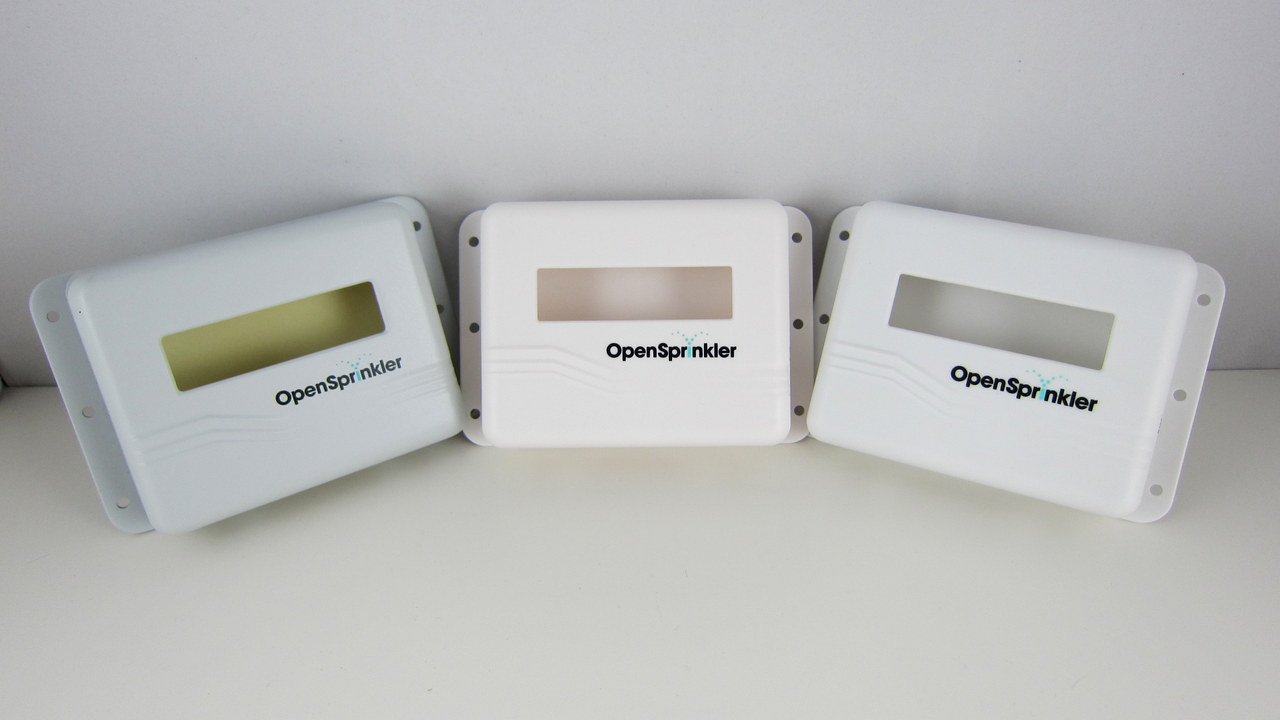
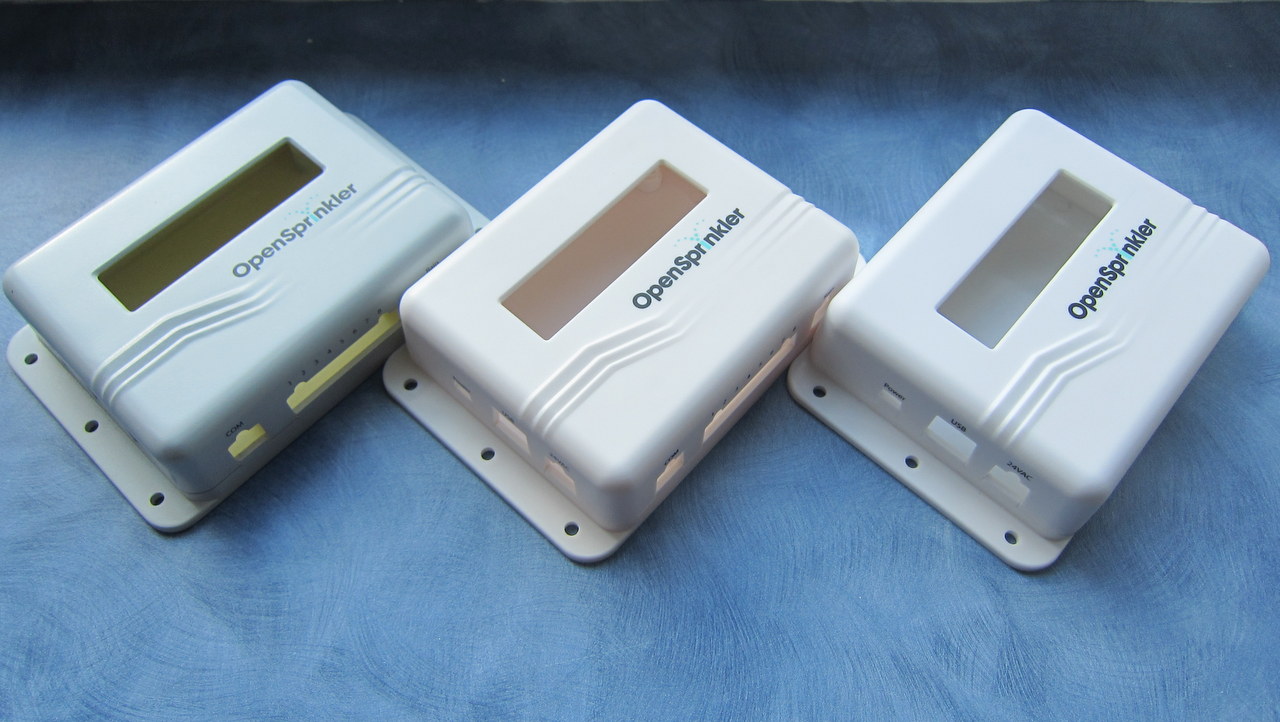
The final sample of the injection molded enclosure has arrived. Very exciting! The moment of decision: I’ve got three samples, each with a slightly different color. I’ve taken a few picture of all three side by side. The differences are subtle, but basically the first one (left) is more gray-ish, the second one (middle) is closer to milk white, the third one (right) is closer to pure white. Please vote for your favorite color in the comments section below (you can either use 1, 2, 3, or left, middle, right, or anything un-ambigious). I’ve only got a couple of days to give them my final decision, so please vote as quickly as you can. Thanks!
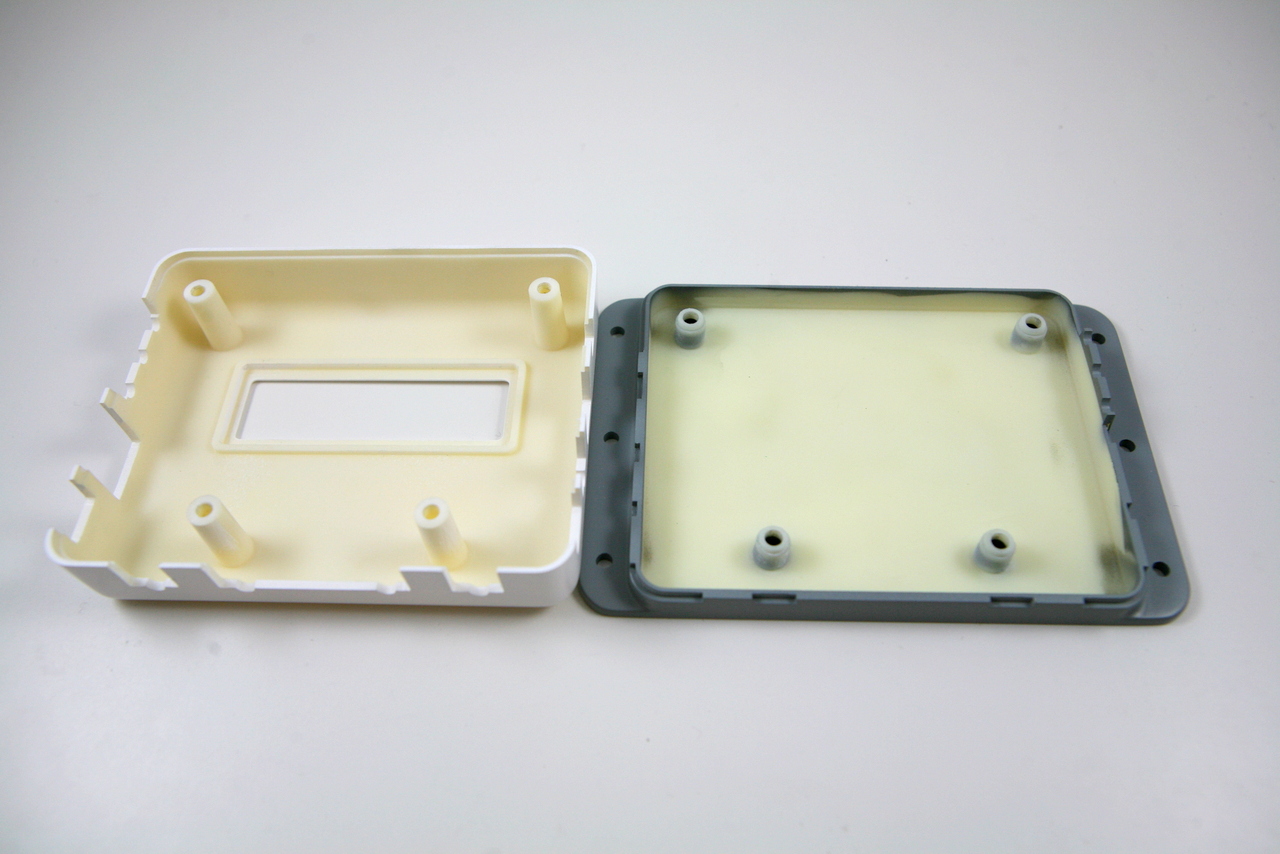
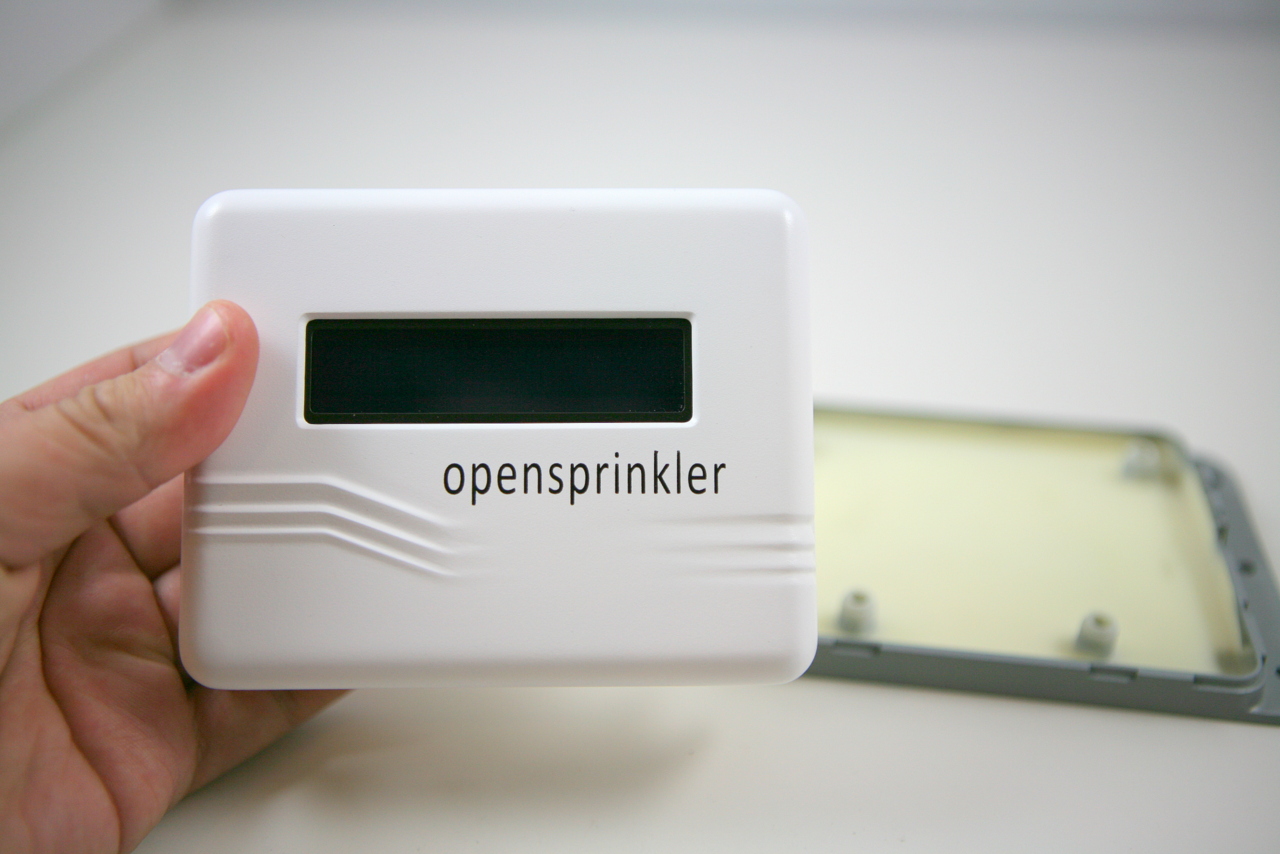
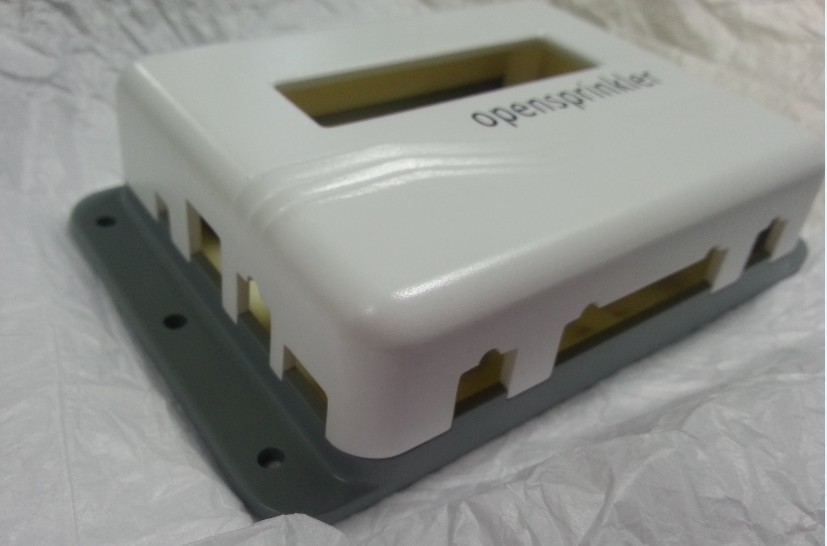
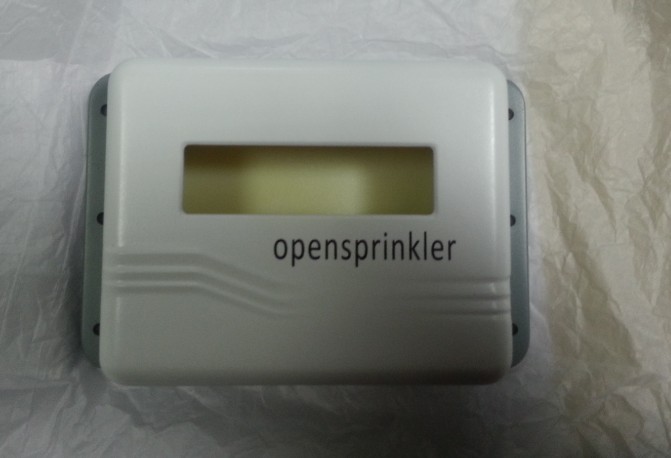
Today I received the 3D printed prototype enclosure from Seeed. It was supposed to arrive on last Friday but due to a snow (which affected nothing) DHL didn’t deliver that day. In any case, I got it today, and it is beautiful! Check out the pictures below:
A couple of quick notes:
The new enclosure will use opaque material (instead of transparent plastic as the current enclosure). So there is now a cutout for the LCD on the top. This will give it a more professional look.
The designer at Seeed recommended a clever design that uses a single set of 4 screws to simultaneously fix the top and bottom pieces together, and the PCB in the middle. This reduces the number of screws and provides more PCB space.
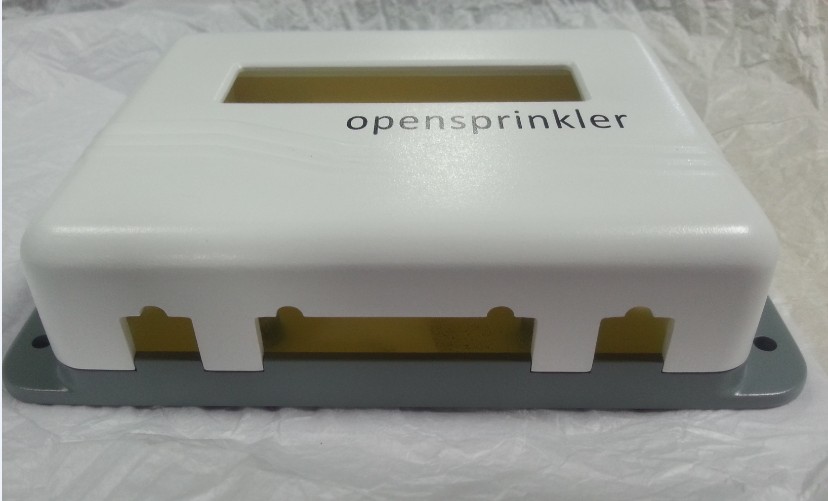
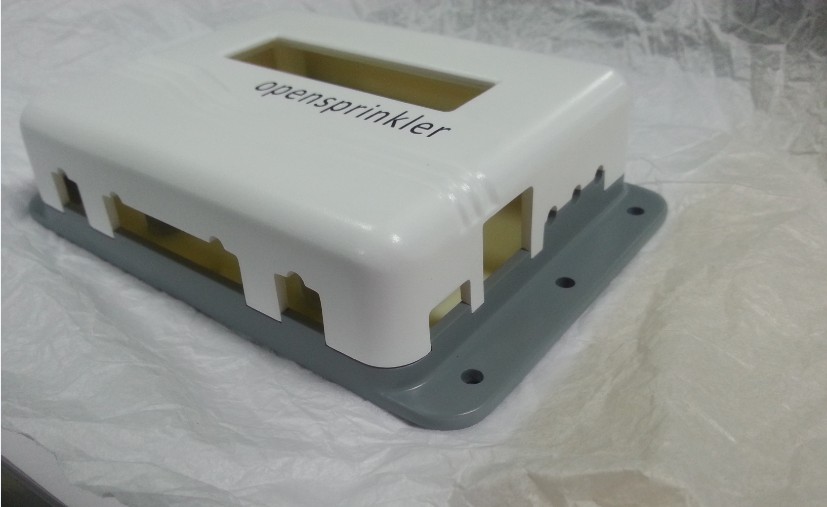
There is now a cutout for the expansion board connector which makes it easy to plug in cables without opening the enclosure.
Overall I am very satisfied with the prototype. There is still some verification I have to do to make sure the PCB and components fit well with the enclosure. Hopefully I will place the mold order soon!
As mentioned in a previous post, I have been working with SeeedStudios to design a custom OpenSprinkler enclosure. Thus far I have been using an off-the-shelf Serpac WM-032C clear plastic enclosure, and I have Electronic Precepts to machine the cutouts. It was a good start and really easy to design, but the cost can quickly add up as I order more from them. Over time, it’s make more and more sense to design a custom enclosure using injection molding, in order to reduce the per unit cost.
The initial design has been finalized and a 3D printed prototype is on its way to me. I am very excited because this will be the first injection-molded OpenSprinkler enclosure! It’s a pretty heavy one-time cost (the mold costs about $5,000 to make), but it’s fun and I think it’s worth the investment. I am supposed to receive the prototype today, but a snow prevented DHL from delivering today. So I have to look forward to Monday. But below I attached some pictures Seeed sent me. They are enough to enjoy for a while 🙂 More pictures will come after I receive it on Monday.
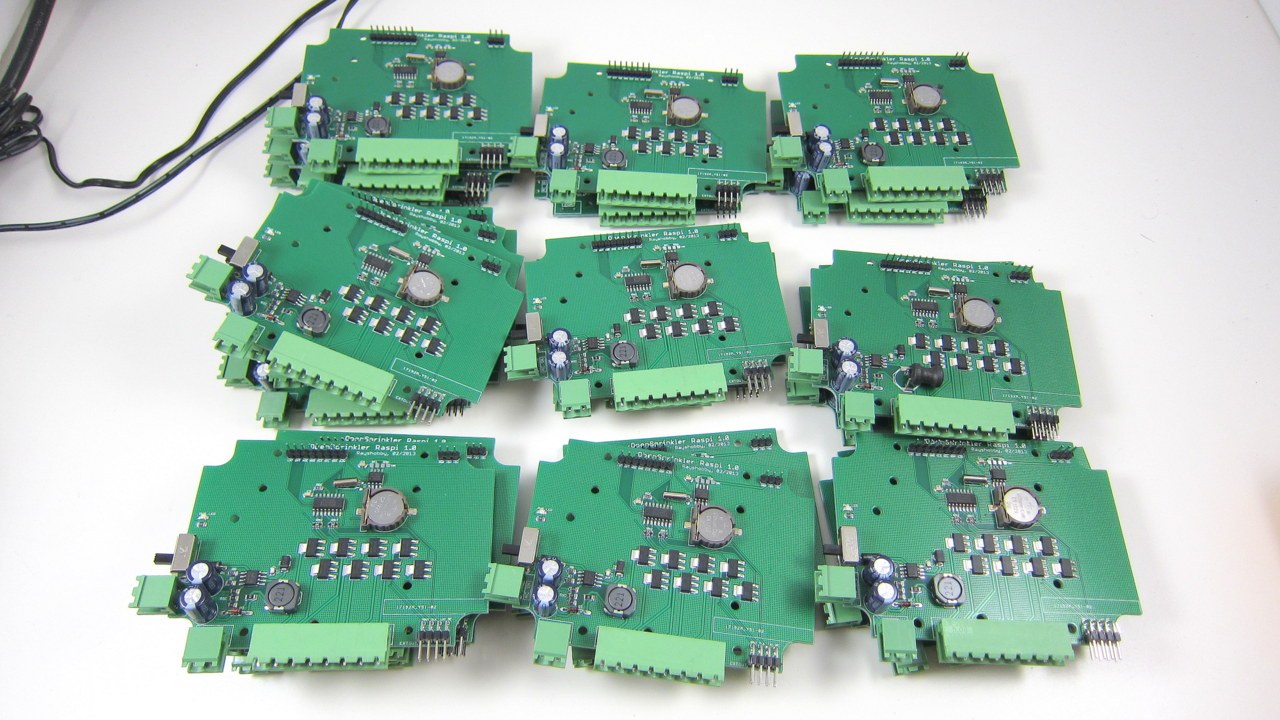
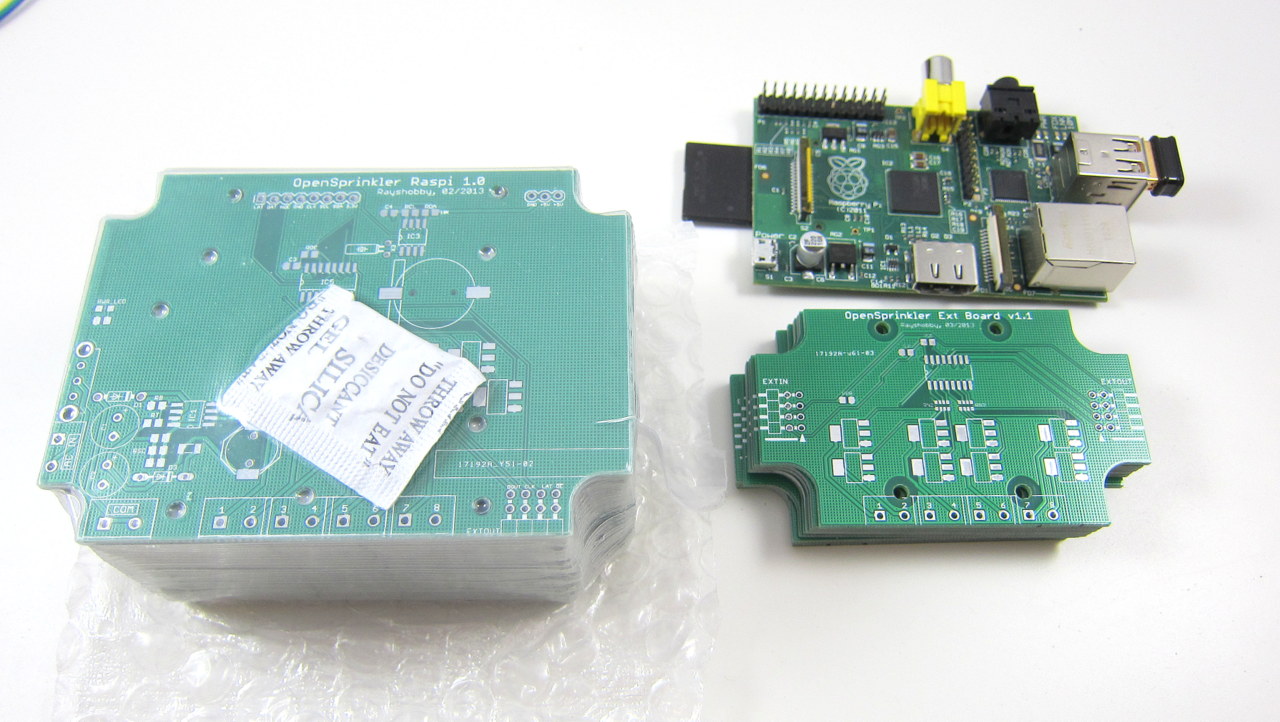
OpenSprinkler Pi (OSPi) v1.0 is back in stock and available for shipping now. The kit includes one assembled and tested OSPi board, separation pillars, terminal blocks, 8-pin and 3-pin connection cables, and optional enclosure. You need to provide your own Raspberry Pi, and 24VAC sprinkler transformer. The board controls 8 zones, and can connect to standard OpenSprinkler zone expansion board to enable additional zones. Grab it now before it goes out of stock again!
I would really like to give a big thumb-up to smart-prototyping.com. This is the first time I ordered PCBs from them (I got the link from dangerousprototypes.com), and I wasn’t sure what to expect. The order was placed on Feb 26 right after the initial batch of OSPi sold out. I selected DHL shipping (about $30) since I need it to be quick. On Feb 28 I decided to place a smaller order for the new zone expansion board prototype PCB, and I selected economy air shipping (about $4) since I don’t care how fast it comes. Then on March 5, exactly one week after placing first order, I noticed it got shipped out. I happily received the package on March 7. This is a total turn around time (from ordering to delivery) of only 9 days! What’s more surprising is that when I opened the package, I found my second order is also included. They must have figured out that since both orders are going to the same address, and both were ready upon shipping of the first order, why not put them together and use the fastest shipping. Clever! I am really impressed by their processing speed and the super-fast shipping time. Also, the PCB quality is very good, and their price is even cheaper than SeeedStudios. Highly recommended, and will definitely order from them again!
I have a new toy that came in two weeks ago: it’s a Full Spectrum 40W hobby laser cutter! It has been sitting in the shipping box for all this time. This weekend I finally gather everything I needed to set it up, and here are some fresh-made engravings:
Not too bad for the first try, isn’t it?
Impression. My order was handled very quickly. I placed the order on a Tuesday after 5pm and it was shipped the same day! A big thumb-up to the Full Spectrum team. A week later, the box showed up at my door. It’s quite big and heavy. I mean, this is already the least expensive, hobby level model on the market. I can easily imagine how daunting the professional level ones must be.
Setup. The build quality is pretty good. The exterior could probably use some more sexy design, but at its price level, I have no complaint. To set it up, I bought a stainless steel table from Ikea, a 5-gallon bucket with cover from Lowes, and five gallons of distilled water. The user manual stressed everywhere that you must use distilled water and not tap water. It is used to cool down the laser tube. I guess distilled water is crucial to avoid sediments.
The user manual is a bit confusing and not entirely consistent. Some pictures do not match my model I ended up having to check some youtube videos and forum posts to figure things out. Also, the instructions for installing the beam combiner are almost unreadable due to low toner. This is a bit disappointing. The good news is that these instructions are all available online, so it’s not a big deal.
There are three peripheral devices I set up first: air compressor, water pump, and exhaust fan. Air compressor is the easiest: just connect the air tube and that’s all. For setting up water pump, I cut three holes on the cover of the bucket, so that the in/out tubes and the power cable can go through the cover easily. Then I placed the water pump in the bucket, and poured 5 gallons of distilled water. The exhaust fan is also fairly easy to set up. The only tricky part is to find a way to vent exhaust air to the outside. My solution is to use a piece of cardboard paper and cut it to the right size so that it can fit tightly on my window. Pictures are included:
Running. The first thing to do is to manually move the Z-table in order to get the laser focused onto the engraving surface. I followed the instructions to do a fire test and it worked right away. Keep in mind that the water pump, air compressor, and exhaust fan MUST be running before the laser fires. Also make sure that the emergency stop is deactivated, and the laser switch is activated. The control is done through USB port, which is very convenient. (I remember my hobby CNC machine requires a hardware parallel port, which was a pain to find). The software is only available on Windows. Since I am mainly using Linux these days, I had to salvage an old Windows PC for this. I suspect I can probably run it through a Virtual Windows on my Linux machine too. The software is reasonably good. It did give me annoyance like hanging and crashing, but nothing that can’t be fixed by restarting the laser cutter and software. Here is a video demo of the machine in action:
As you can see, my first test case is to engrave the OpenSprinkler logo (courtesy of Nathan Johnson) onto the project enclosure. It took me a few tries to find the right laser power level and speed. No rocket science. The enclosure material is probably not best designed for laser engraving, because it can easily burn and produce a greenish color. But at the appropriate laser intensity, it looks reasonably good.
The next order I ship will include this engraved project enclosure 🙂 I can probably start making a small batch of engraved enclosures if it turns out to be reasonably productive.
My next steps are to try laser cutting, and installing the beam combiner. Overall I am pretty happy with this new toy. Given that this is the first time I’ve ever used a laser cutter, I would say the installation and initial tests went very smooth. Again, a thumb-up to the Full Spectrum team.