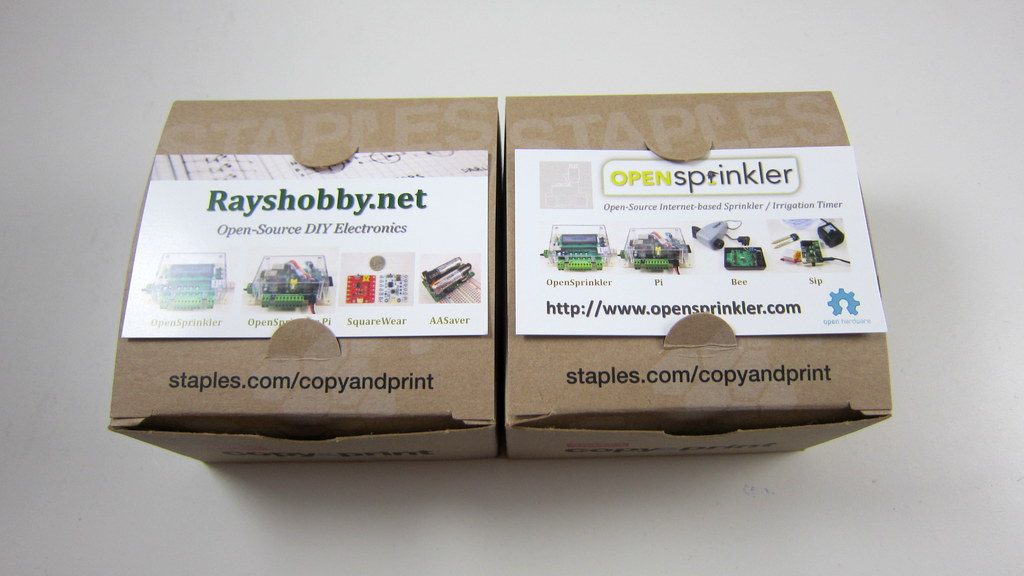
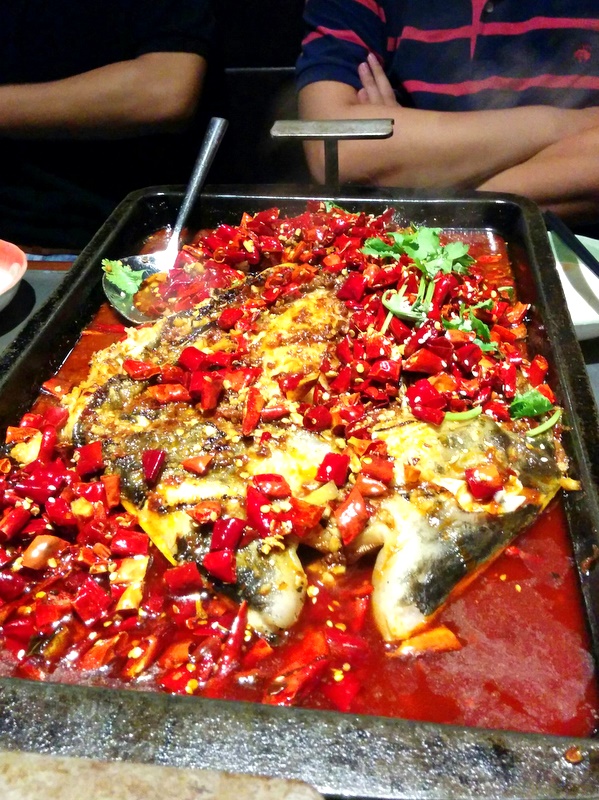
For the past two weeks I have been traveling in China, and I spent the entire last week in Shenzhen, the city known for electronics supplies, assembly and manufacturing, among many other things. I visited Shenzhen two years ago, and had an wonderful time there. On this trip my main missions are to visit a PCB assembly factory, check out a few pick and place machines (I am considering getting a second pick and place machine), to attend the Shenzhen Maker Faire, and above all, to have great food 🙂

Wells Electronic Technology Ltd.
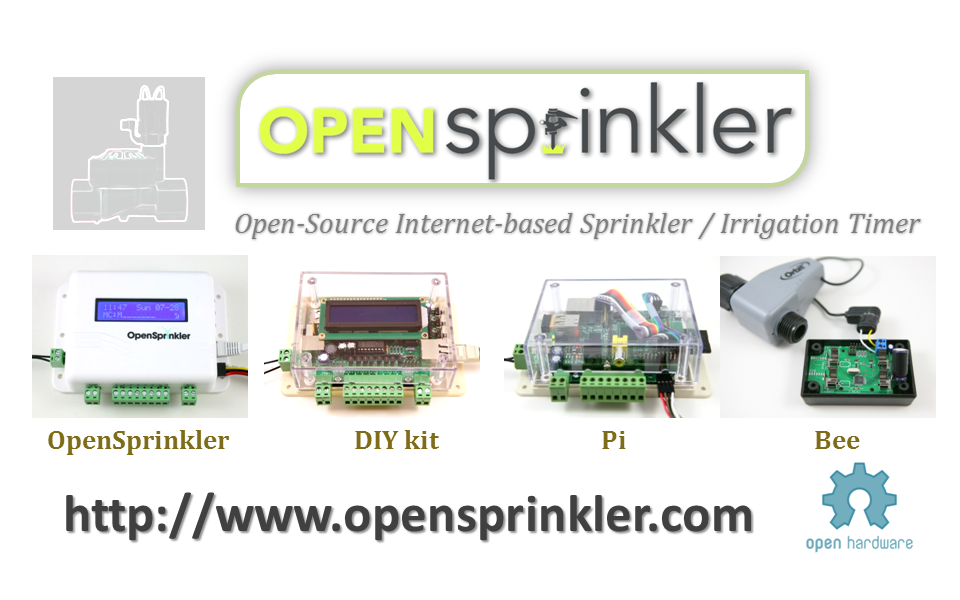
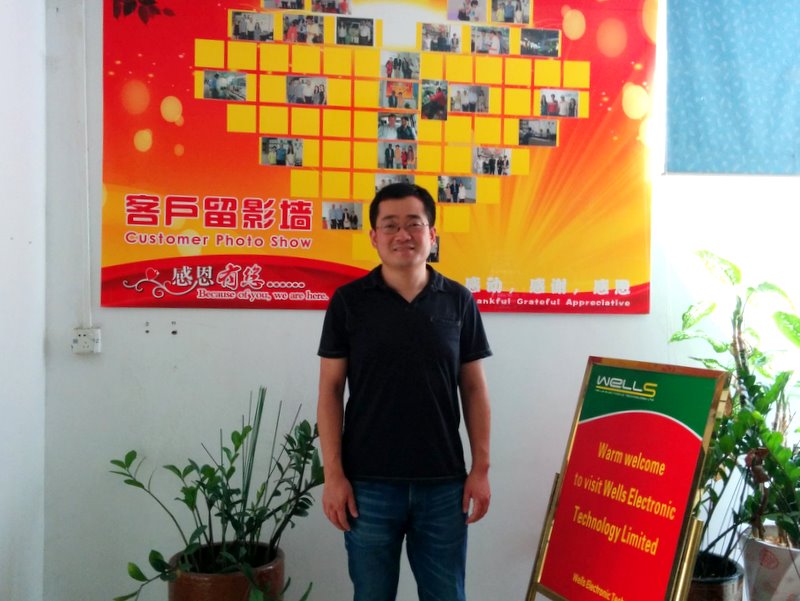
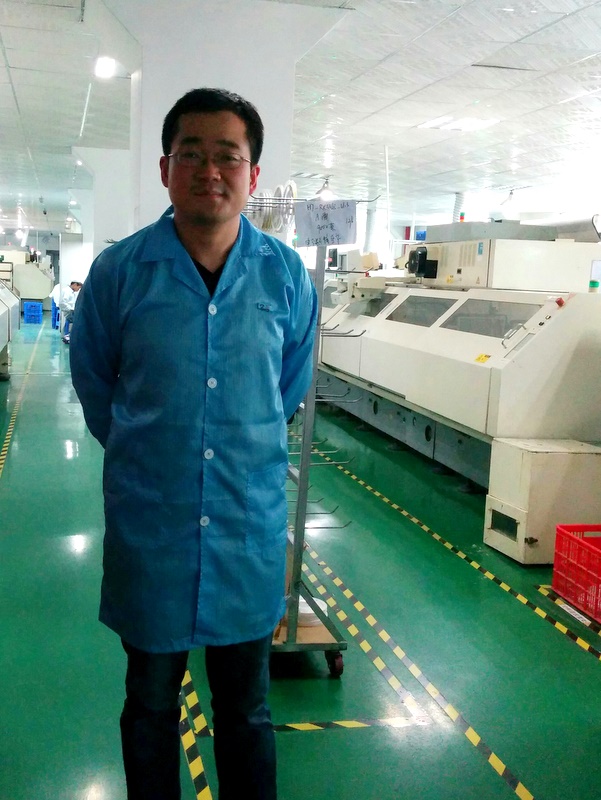
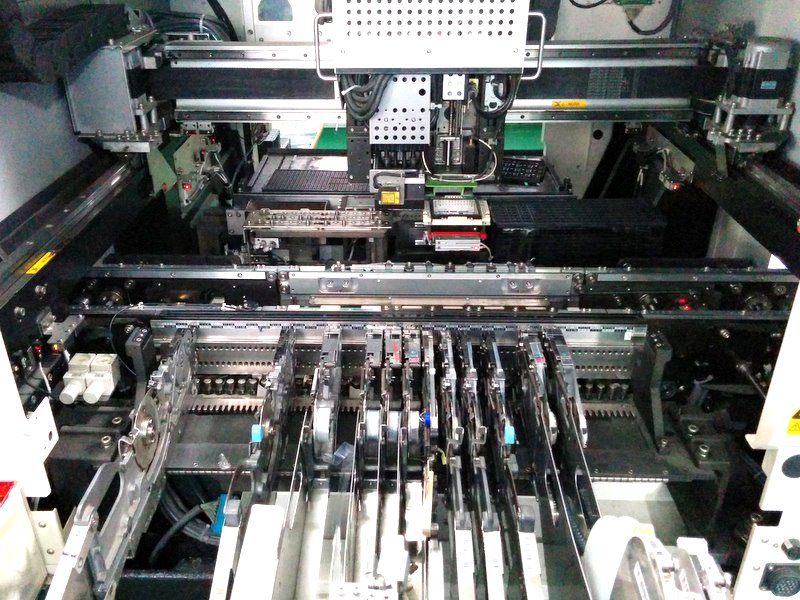
Earlier this year I started working with Wells Electronic Technology Ltd. to get OpenSprinkler Pi and Expansion Board manufactured there. Wells is one of the numerous companies in Shenzhen that provides professional PCB manufacturing, assembly, testing, and packaging services. I’ve already done 3 orders with them. On this trip I wanted to pay a visit to check out their facilities in person. As a client, I was treated really well. They picked me up from my hotel, showed me around the factory, treated me lunch, and dropped me back to hotel. It was a very satisfying visit. The factory is divided into three sections. The first section is SMT assembly. They have 7 SMT assembly pipelines, each consisting of a stencil printer, pick and place machine, and reflow oven. Not all pipelines are occupied at all times, and the spare times are often used to accomodate small-size orders like mine.
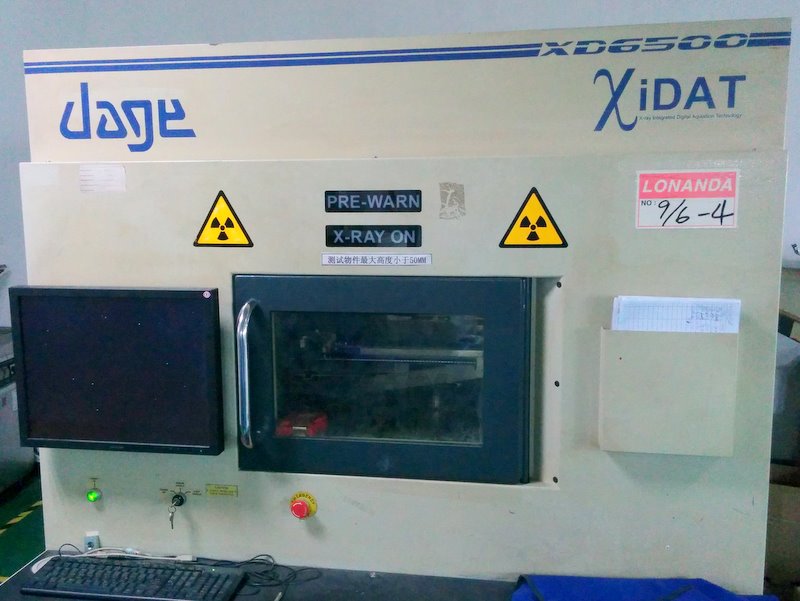
There is also an X-Ray machine for examining the soldering quality of BGA chips. Fancy!
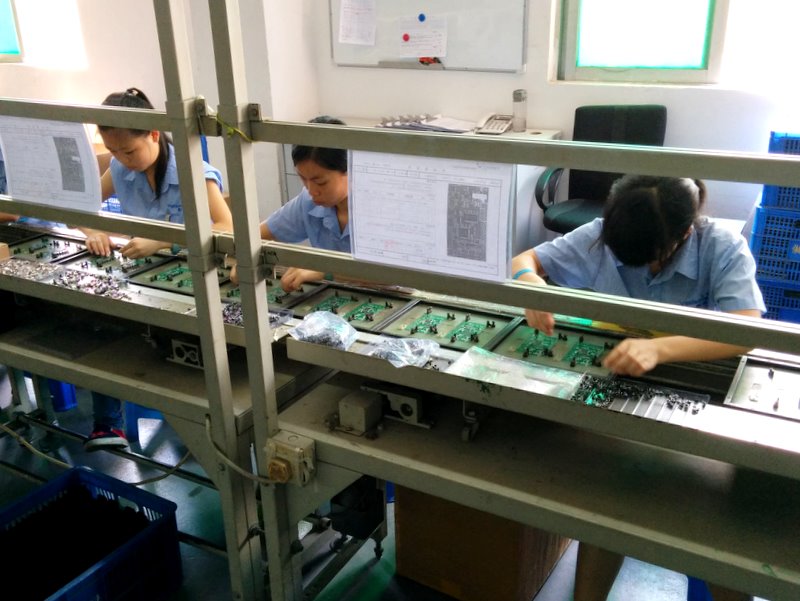
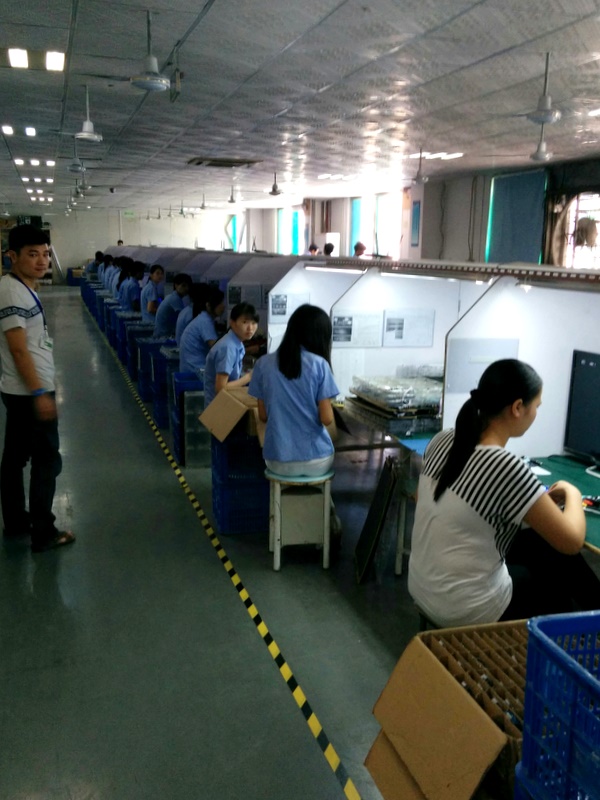
The second section of the factory is through-hole soldering. The workers first insert through-hole components into circuit boards, which are then sent to wave soldering machines. The third section is testing and packaging. There are literally no less than a hundred workers, all sitting in front of testing tables with testing instruments. It’s a pretty impressive scene.

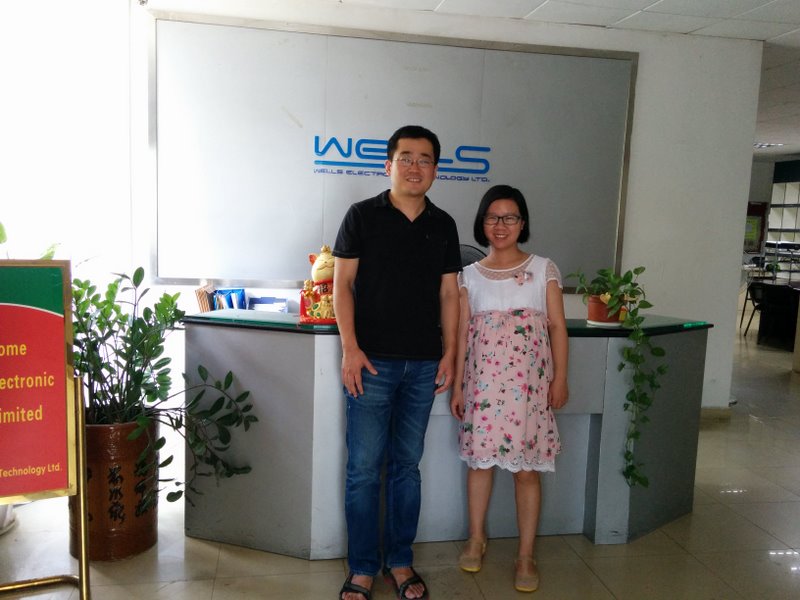
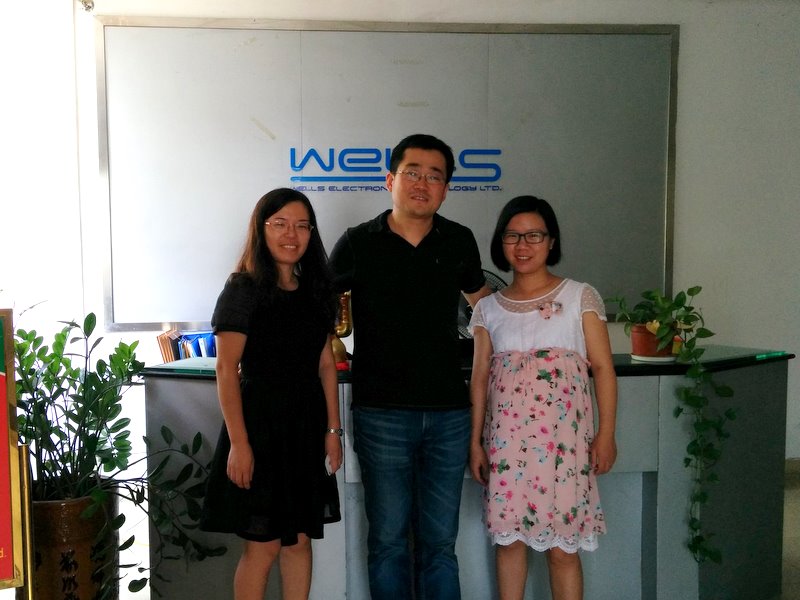
At the end of the visit, I took a few pictures with my hosts Celia and Linna. They are both very friendly and hospitable. I was even given gift boxes of sticky rice dumplings, a traditional Chinese food to be consumed on the Dragon Boat Festival.
Revisiting Pick and Place Machines
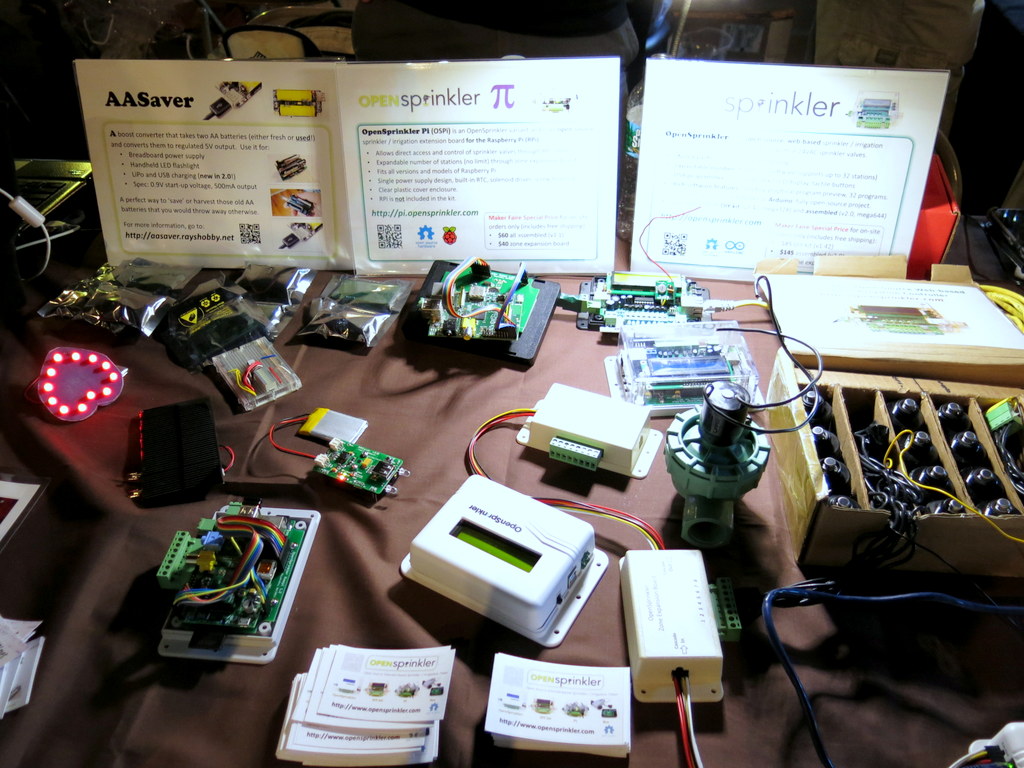
About two years ago, I bought my first desktop pick and place machine — Neoden TM-240A. This is a decent quality budget machine that’s well-known in the maker community. It’s pretty easy to use and quite reliable. Although we use professional factories to make the OpenSprinkler line of products, for small circuit boards like SquareWear, ESPToy and RFToy, it’s still much more cost effective to make them ourselves. So it’s important to have a good and reliable pick and place machine in house. The major downside of TM-240A is the lack of a mechanical or vision centering system. This is one of the reasons it’s inexpensive. As we scale up, I am now on the market to shop for a new desktop machine with a automated centering system.
Before I went to Shenzhen, I contacted Felix at the LowPowerLab and got his recommendations for the DDM Novastar LE40V that he purchased recently. It’s a US-made high-quality desktop machine that provide both mechanical centering and vision centering. I even paid a visit to DDM Novastar in Philadelphia to check it out in person. The machine is quite impressive. My main concern is the cost — the total cost with feeders would be about $45K to 50K, which is quite steep. So I decided to wait till my Shenzhen trip to check out a few comparable China-made brands.
The first choice I have in mind is the Borey T15-F30 series. It’s a desktop machine with 4 headers and up to 30 8mm component slots. I had a chance to check out a sample machine at Borey’s Shenzhen office. To be honest, this machine is quite bulky, and given its size the 30-slot limit is a bit disappointing. The sales representative took quite a while to set up an initial demo, which made me concerned about the setup overhead. The machine including feeders would cost about $8K to 10K in total, which is a very decent price even after we factor in the shipping cost.

The second choice is the new generation of Neoden’s pick and place machine. At the moment they are advertising their third-generation (TM-245P) machine. Since I’ve had two years of experience with TM-240A, I consider their machines to be well-built and fairly reliable, and their brand trustable. TM-245P is an upgrade to 240A with lots more component slots, mechanical centering, vibration feeder (suitable for components in tube packaging), and support for IC trays. The overall cost is about $6K to 7K.

During the conversations with their sale representatives, I learned that they will soon release the fourth generation with vision centering. This is a very interesting news that has come right in time. Vision centering is ultimately faster and more accurate than mechanical centering, so I’ve decided to wait for a couple of months for their fourth generation to become available. I’d like to get a sense of how it works before finalizing my decision.
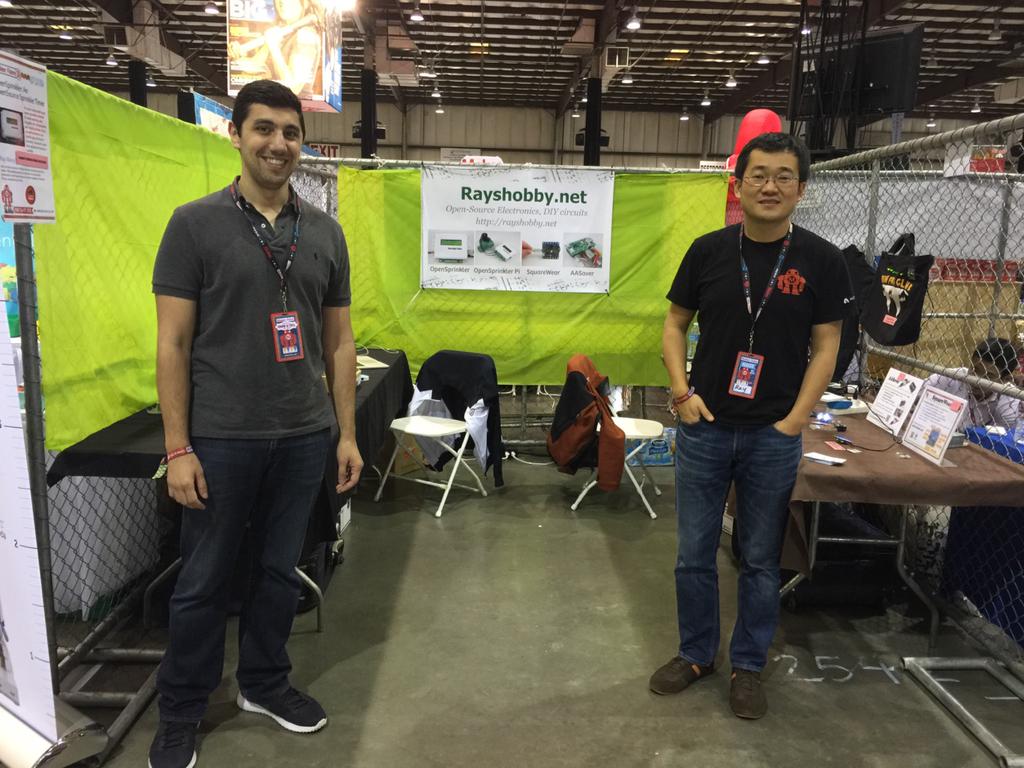
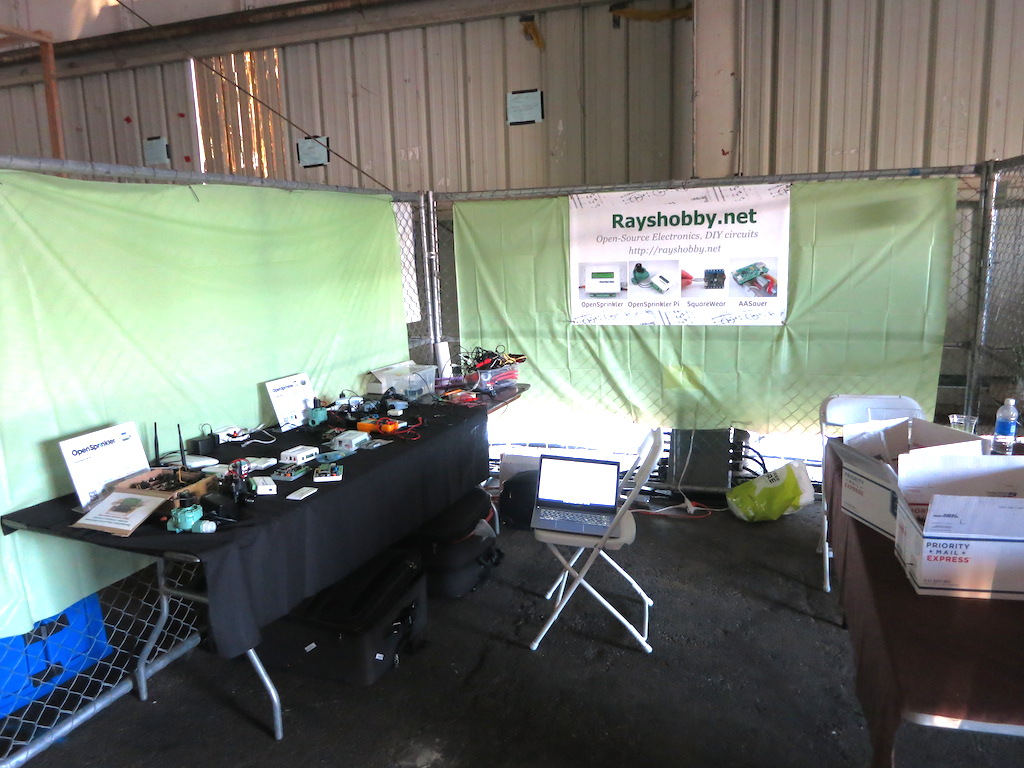
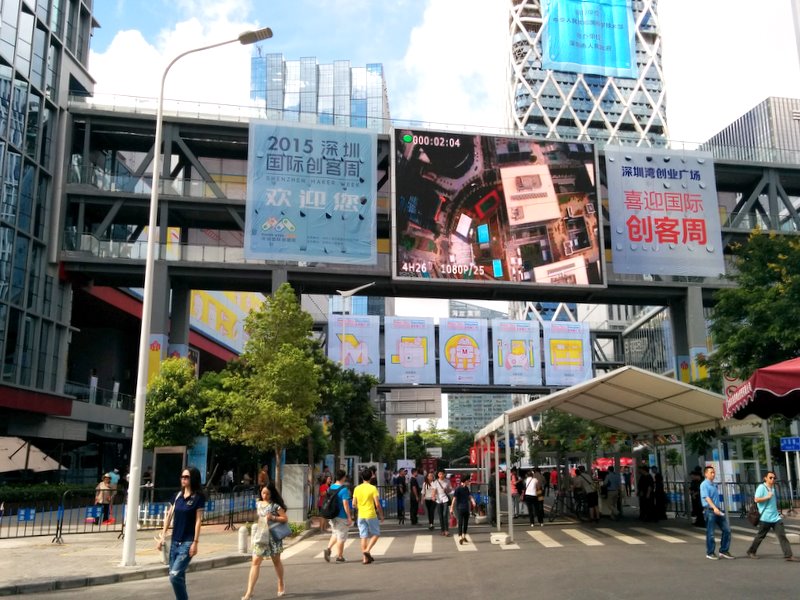
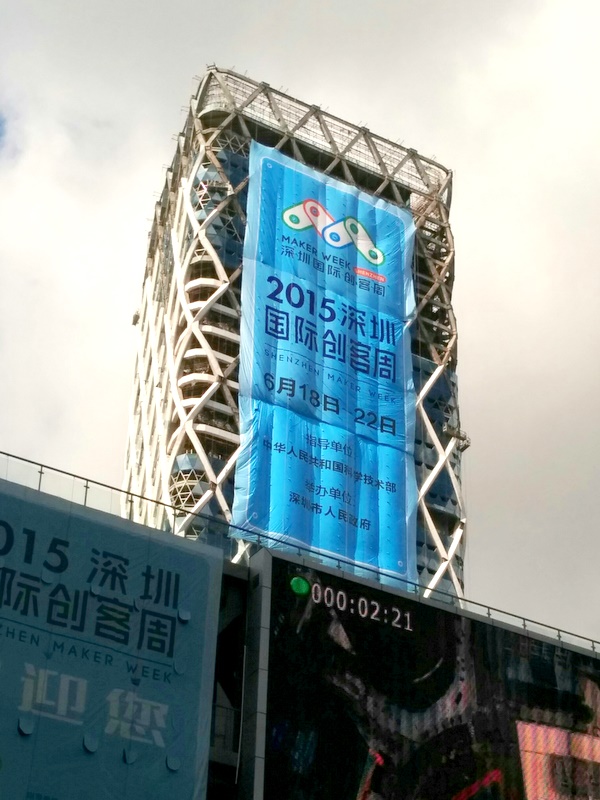
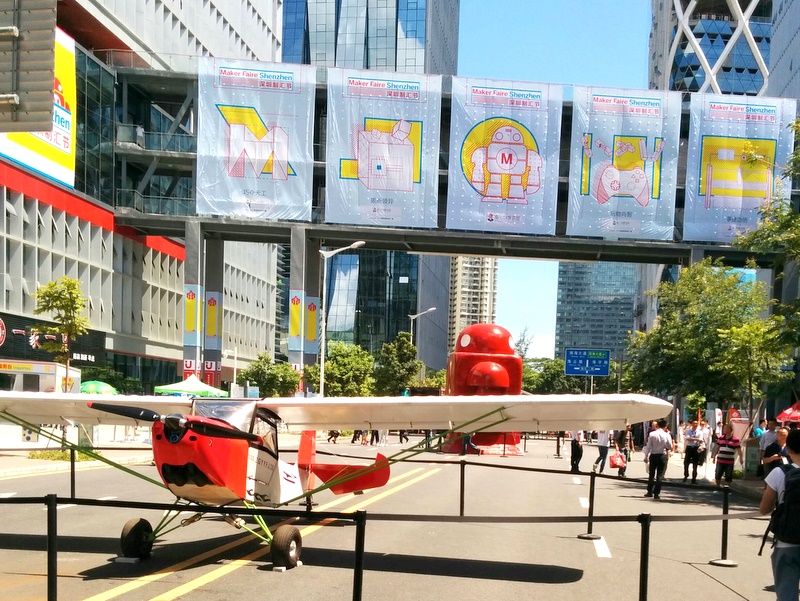
Shenzhen Maker Faire 2015
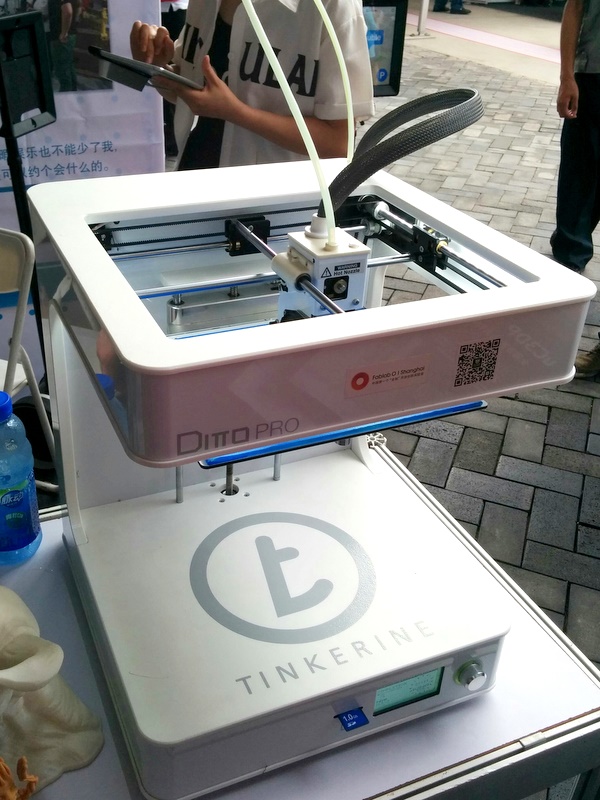
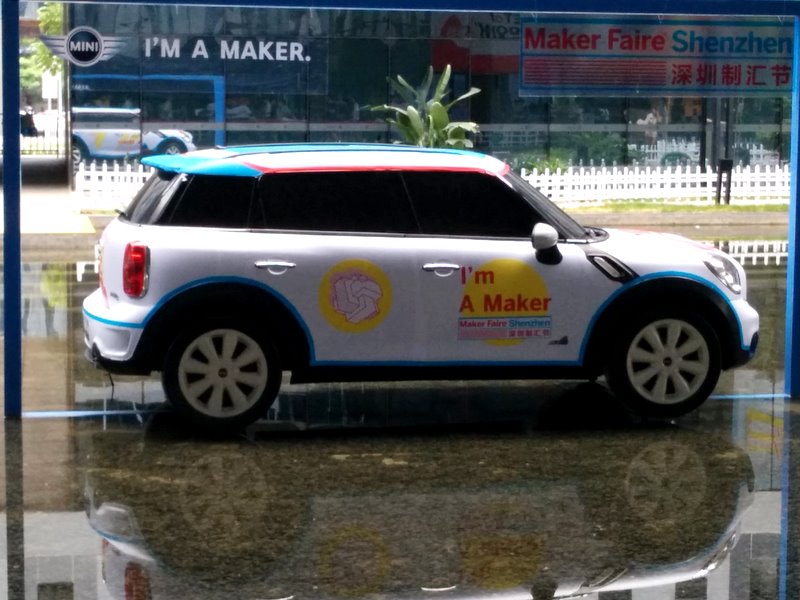
I intentionally scheduled my trip to overlap with the Shenzhen Maker Faire 2015, which happened over the June 20 weekend. June 20 is also the Dragon Boat Festival, when we happily enjoyed the sticky rice dumplings of all sorts of flavors. The Chinese government has apparently decided to invest heavily in the make culture (a wise move!), and sponsored this event. As a result, it’s free to exhibit, free to attend, and even parking is free on site. The event was well organized with lots of makers. Compared to the Bay Area Maker Faire, it’s somewhat lacking in diversity, in that many exhibitions are of similar nature, and they are almost 100% for-profit companies/start-ups. I miss the days when the Maker Faire consists of mostly small but passionate makers who have the ‘I do it because I can’ spirit, not necessarily having profit-making as the primary focus. Let’s be honest, once it’s driven by profit, the focus is shifted to sales and marketing, and those are the kind of things I am neither good at nor very interested in. In any case, just my wishful thinking for future Maker Faire events.
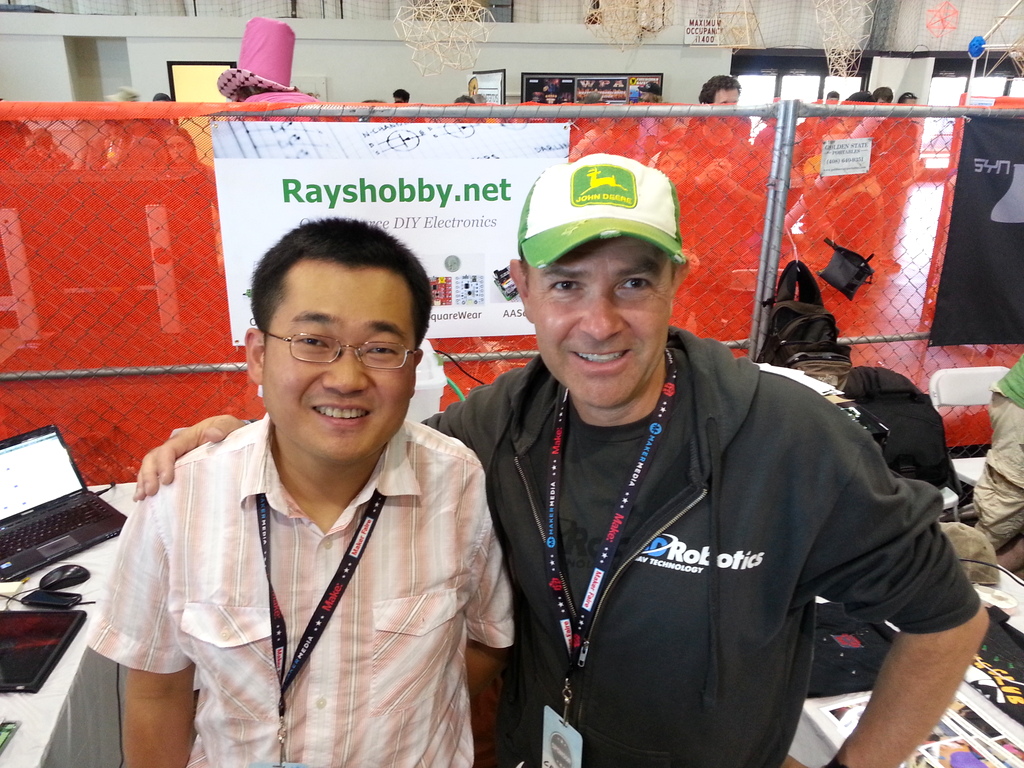
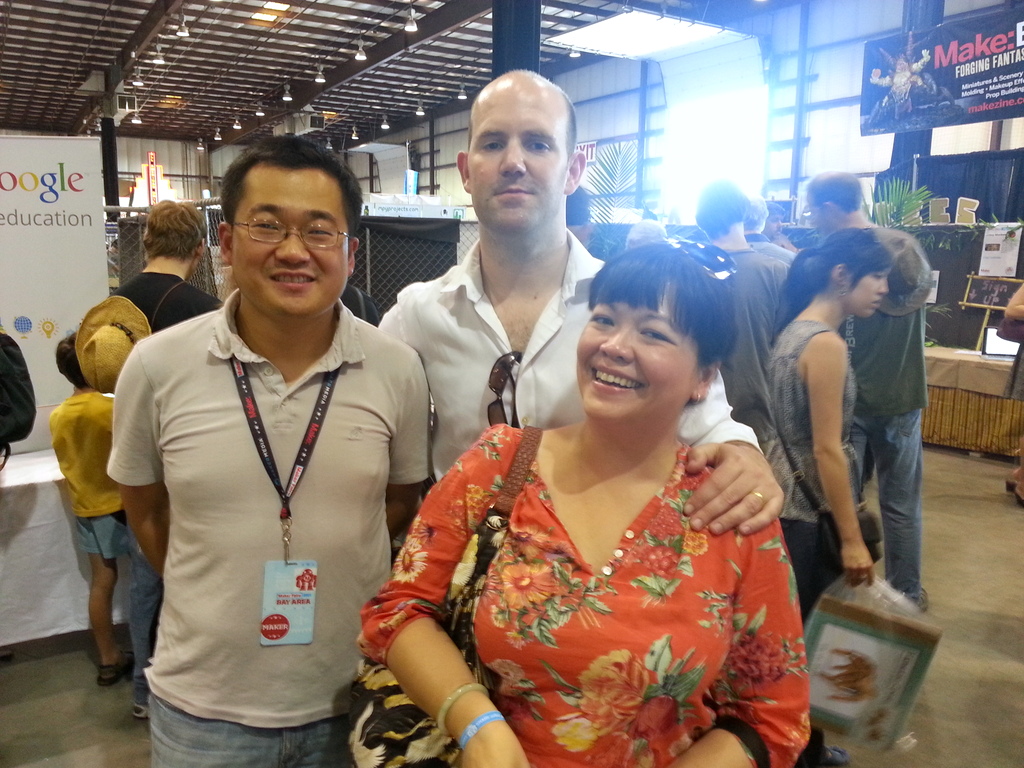
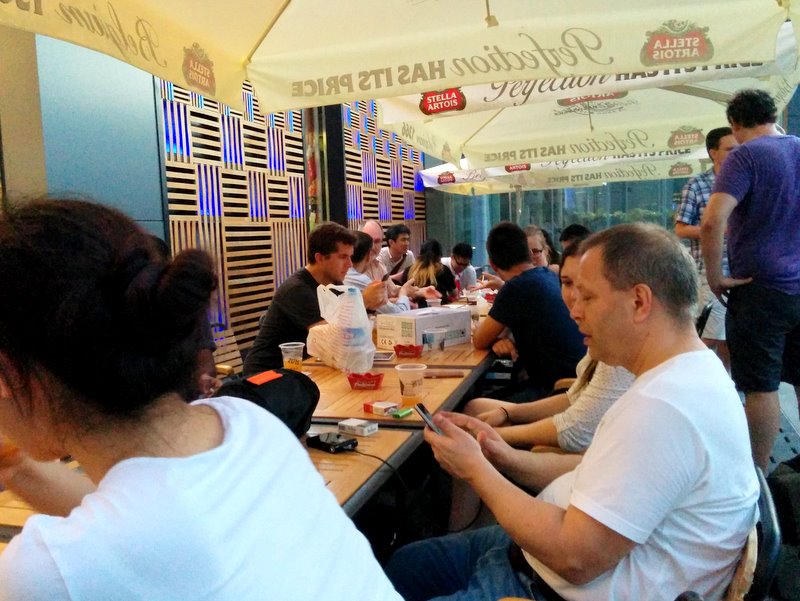
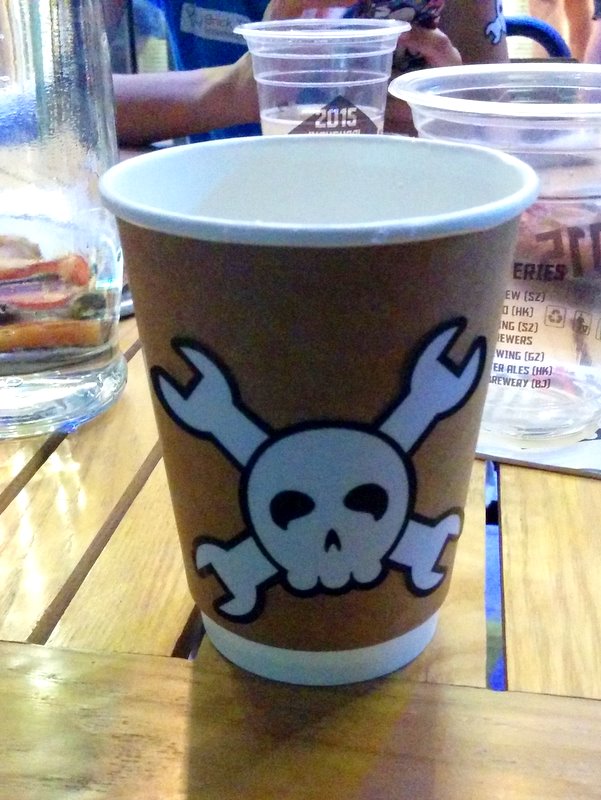
Saturday (June 20) evening, I went to a social gathering organized by Hack A Day. Met some new friends and had a great time over there.
So ‘Good Bye, Shenzhen’ for now, but I hope to see you again soon!